
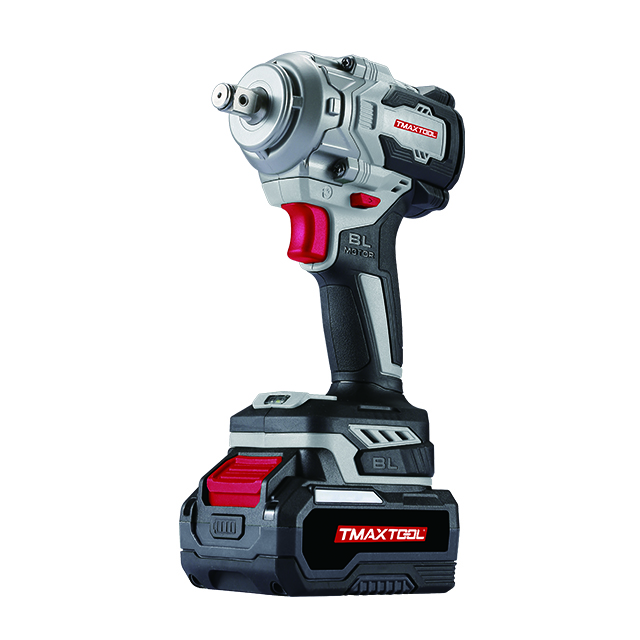
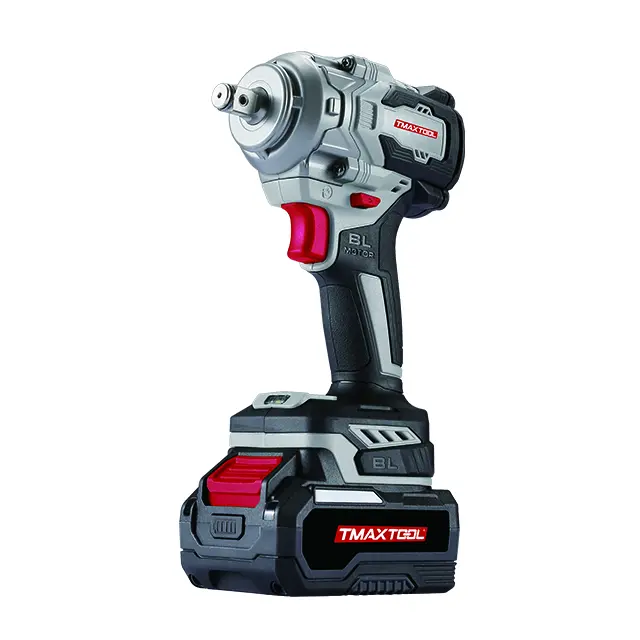
 Impact Wrench
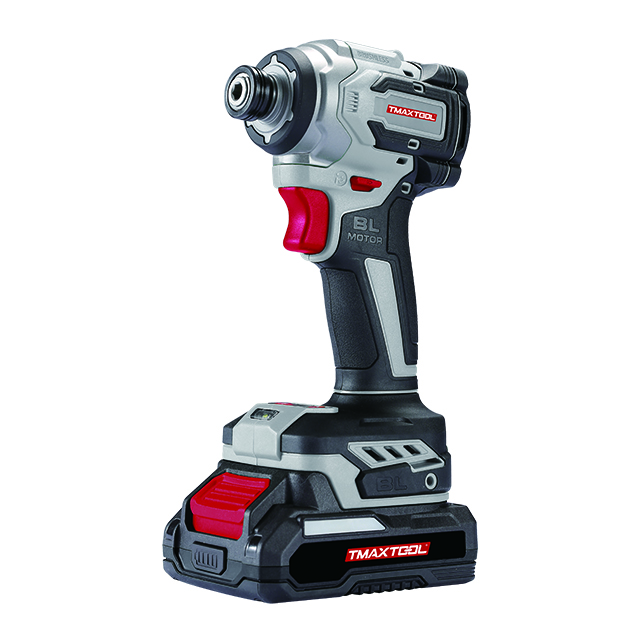 Screwdriver
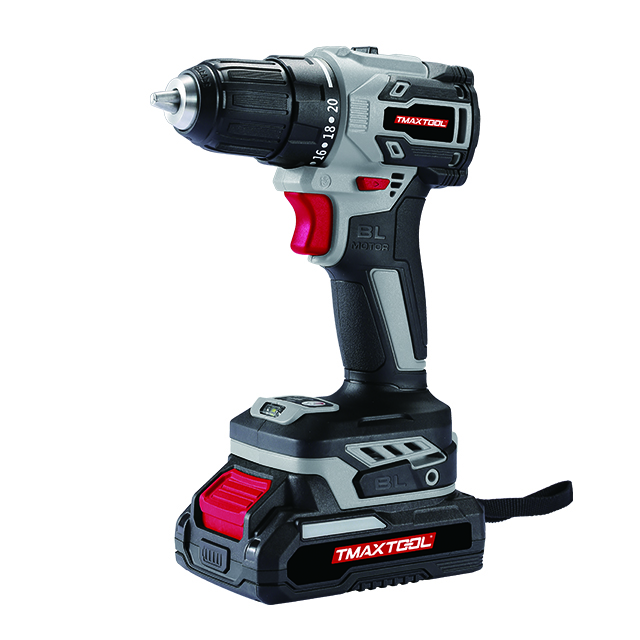 Cordless Drill
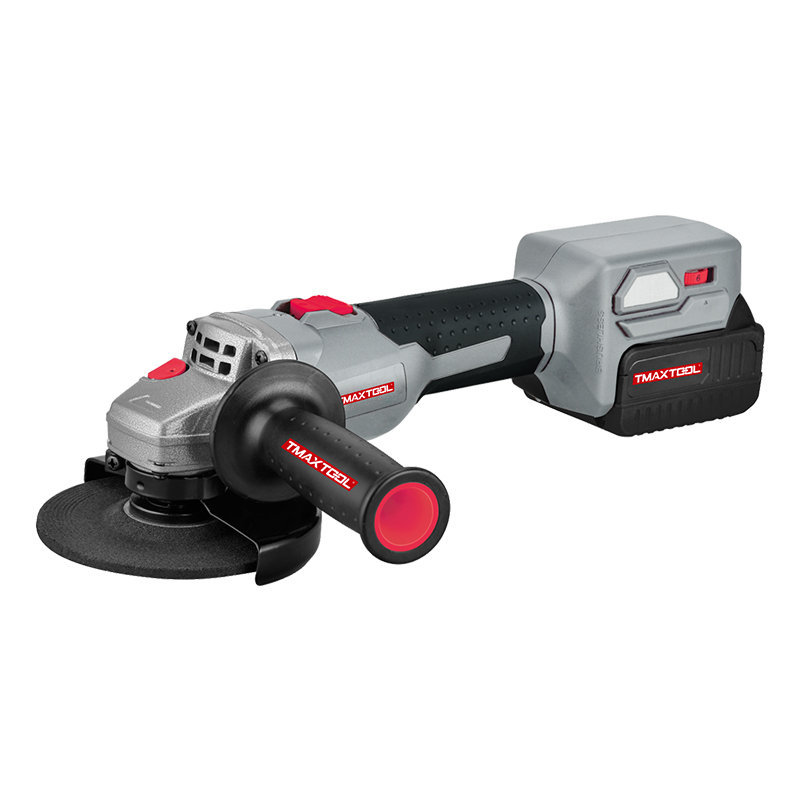 Angle Grinder
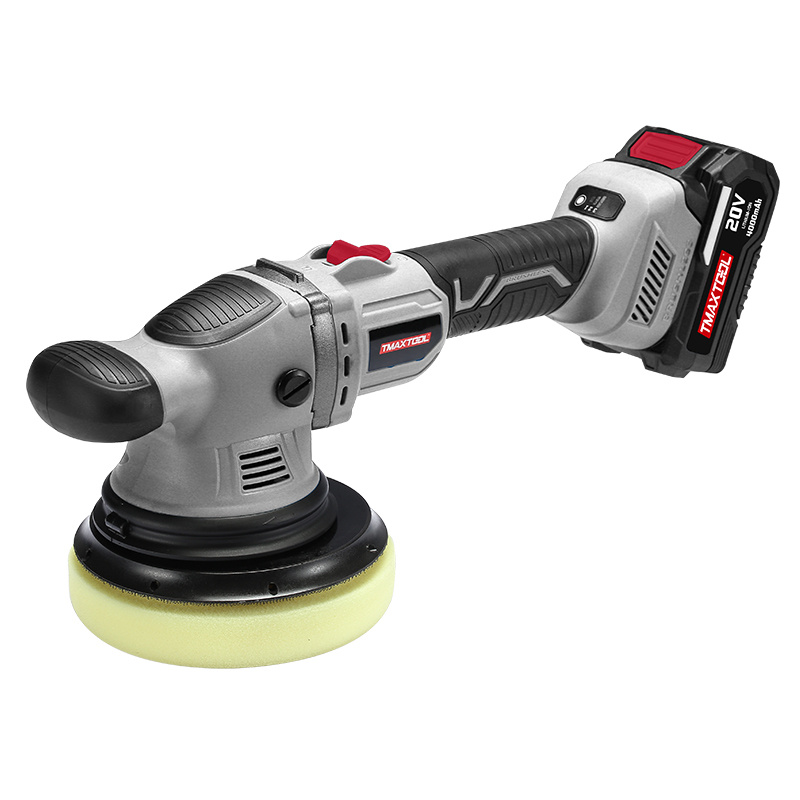 Polisher
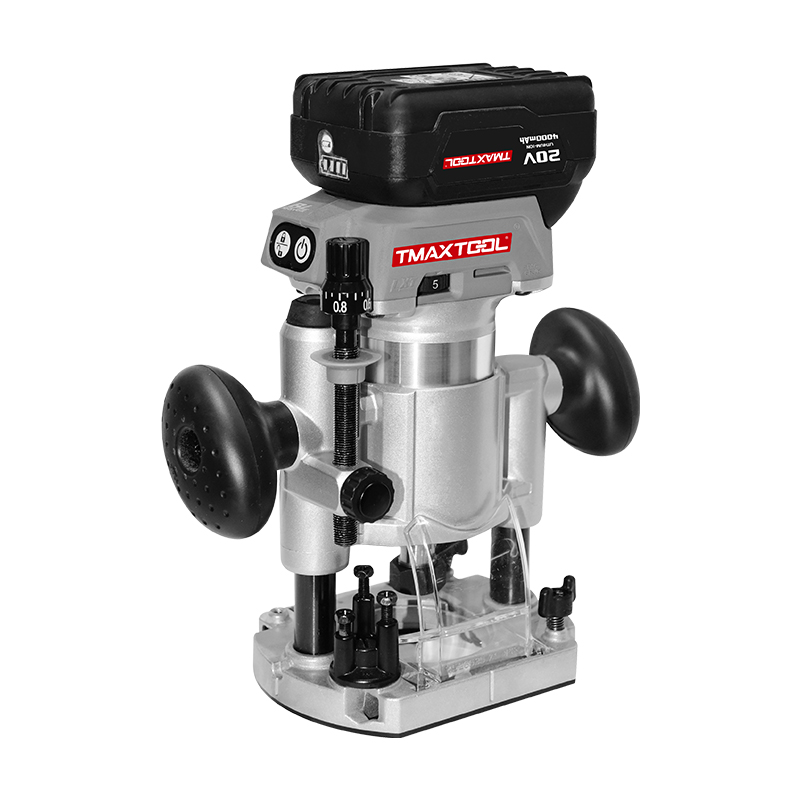 Wood Router
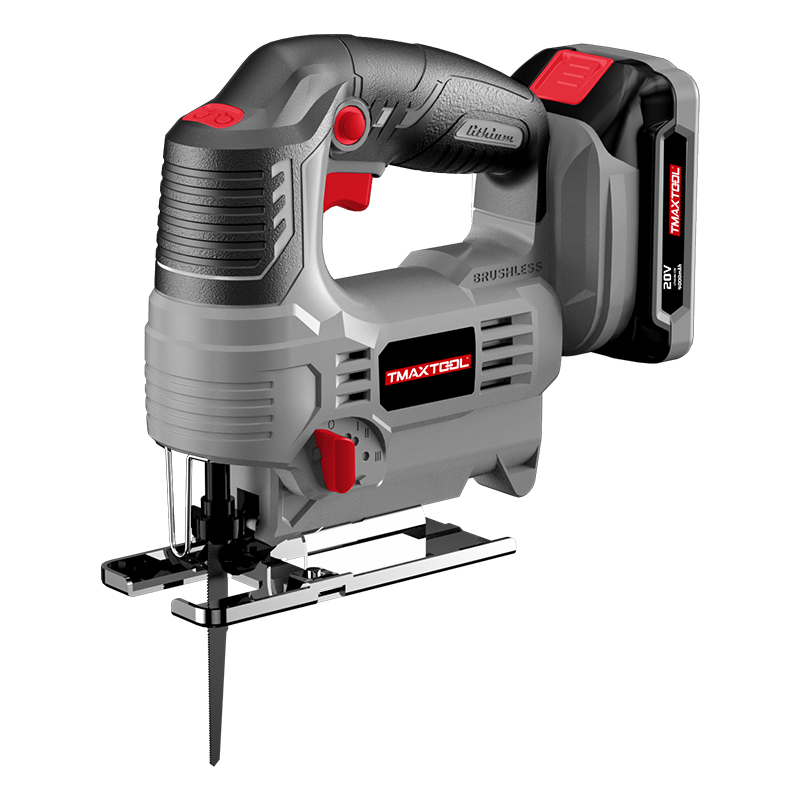 Jig Saw
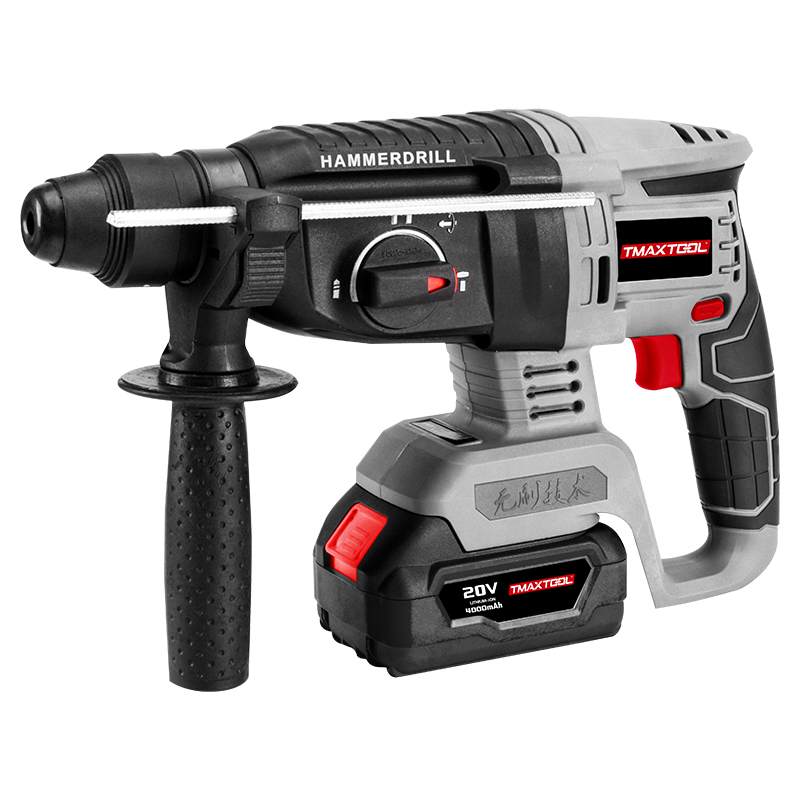 Hammer Drill
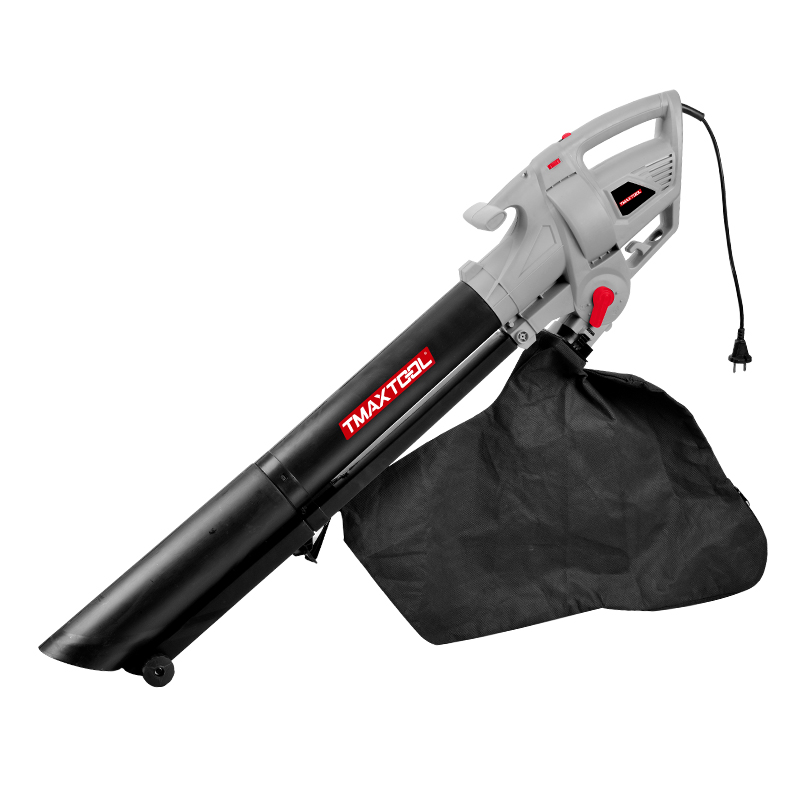 Portable Blower
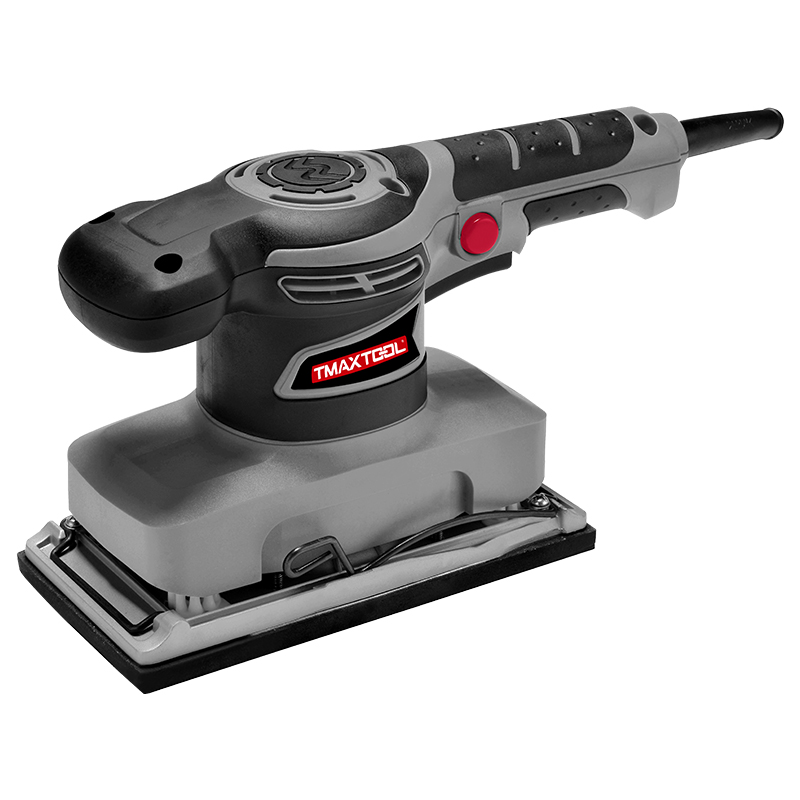 Orbital Sander
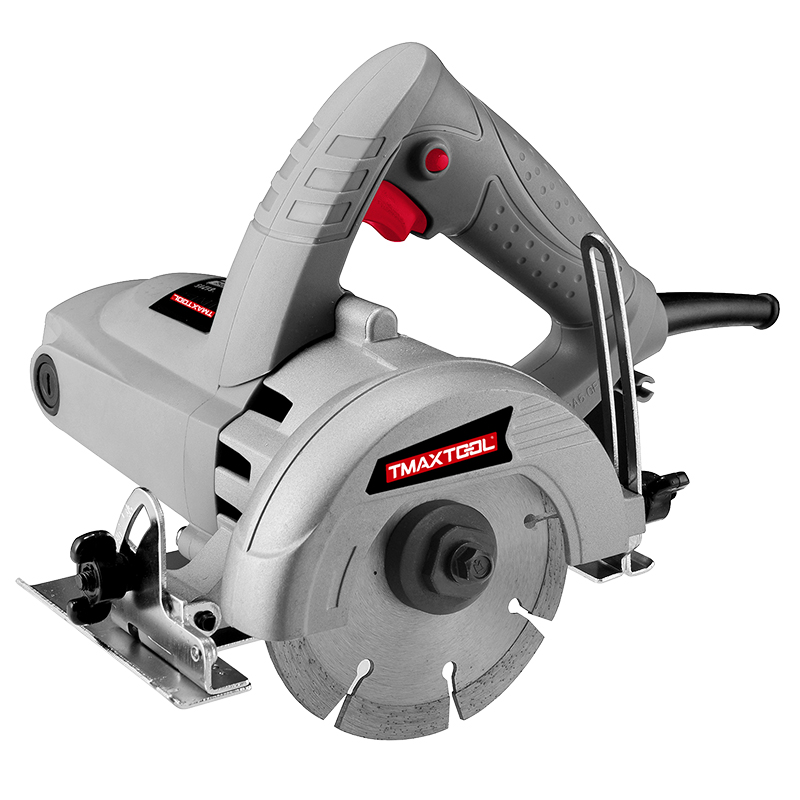 Marble Cutter
 GARDEN TOOLS
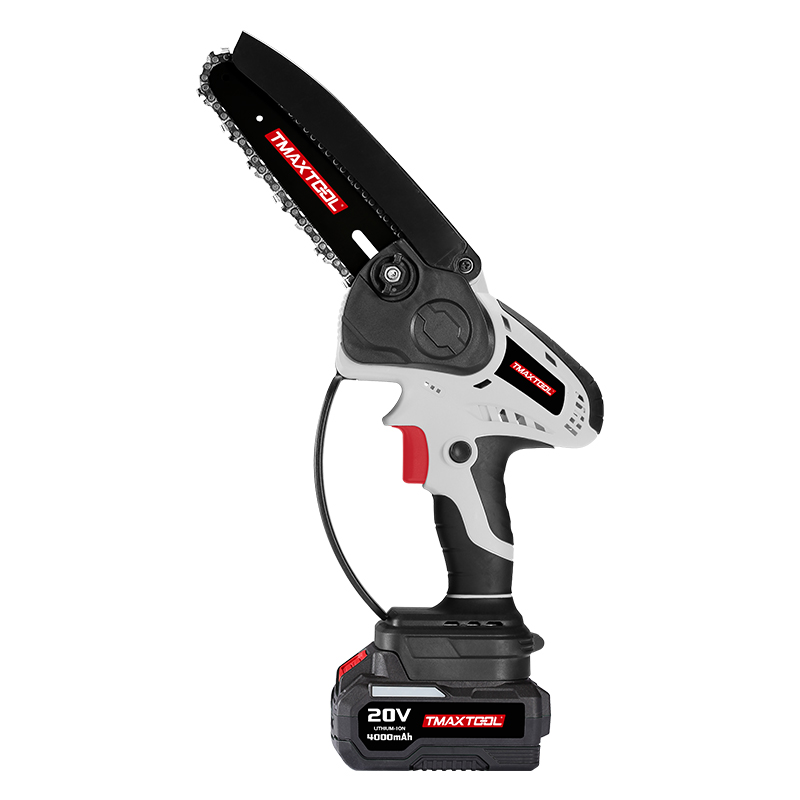 Battery Chain Saw
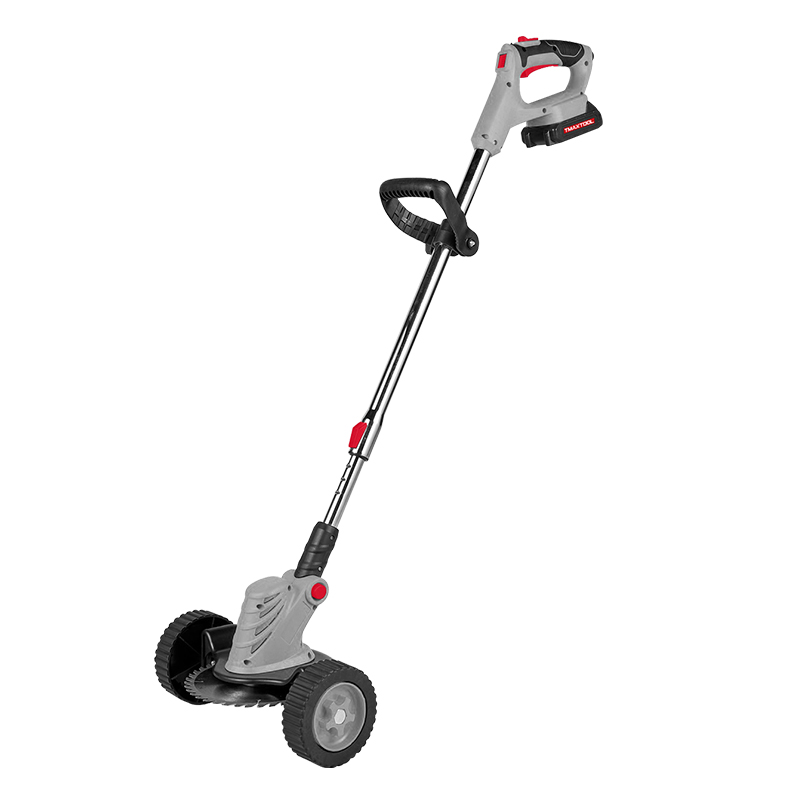 Battery Brush Cutter
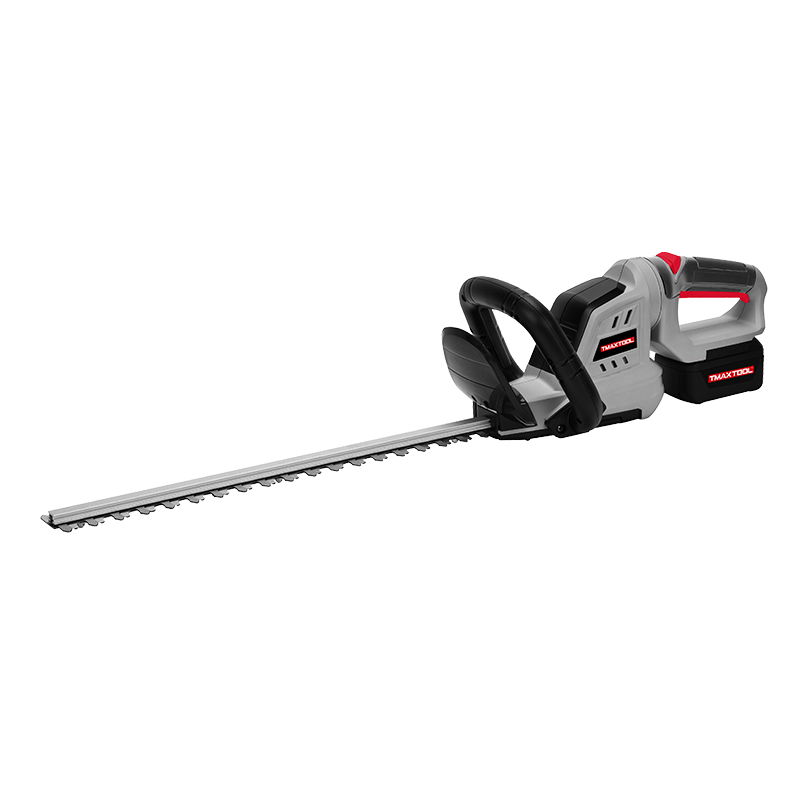 Battery Hedge Trimmer
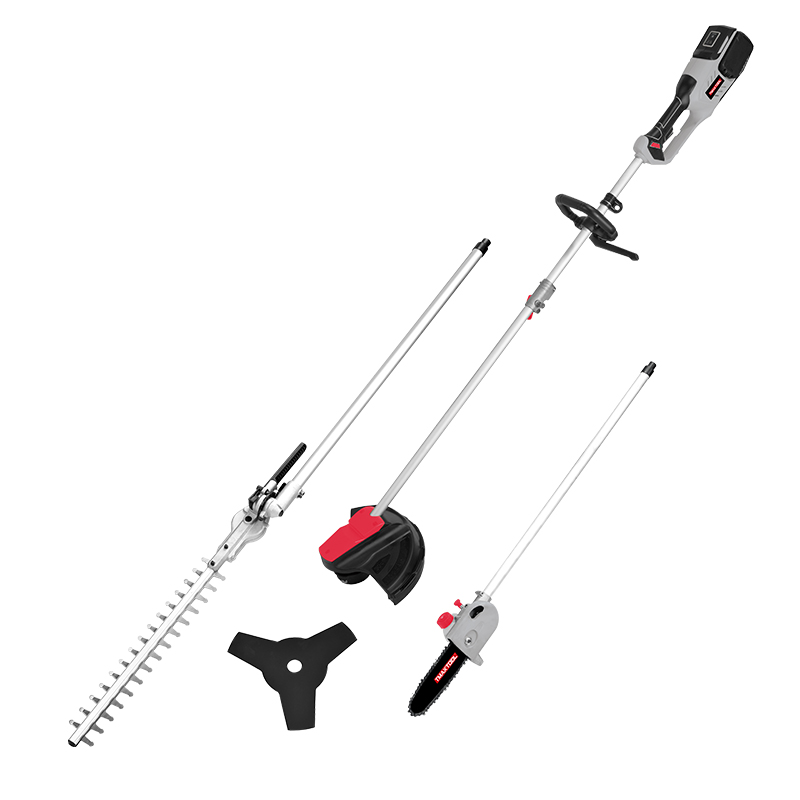 Battery Multi Tool
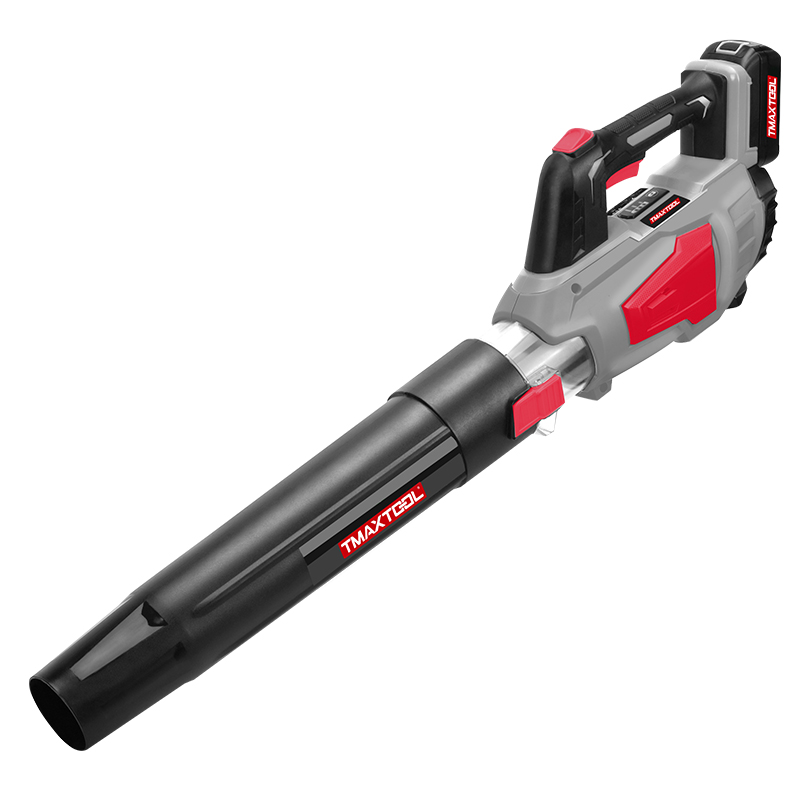 Battery Blower
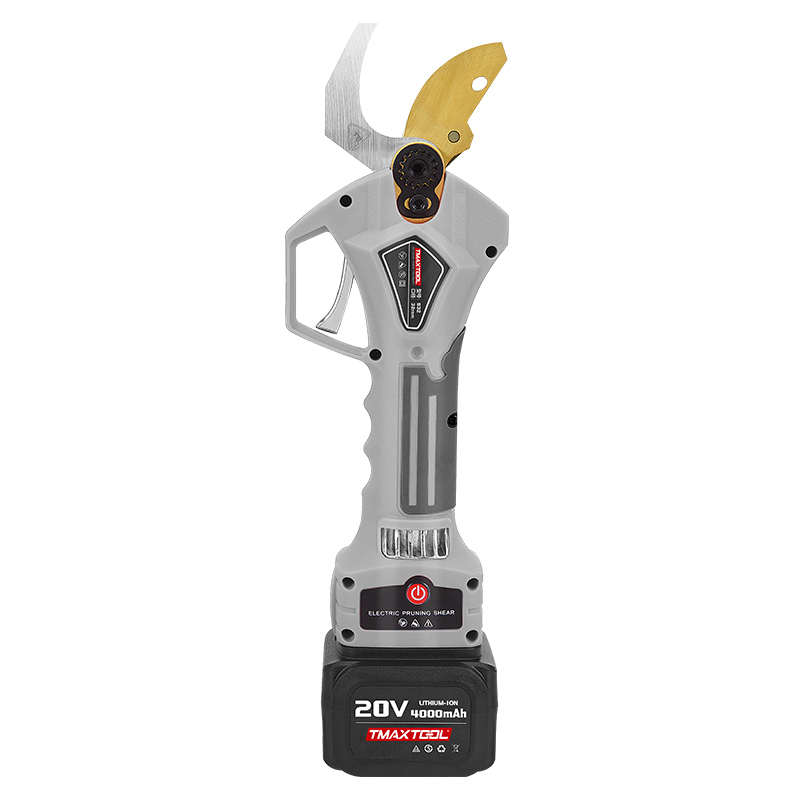 Batter Pruning Shears
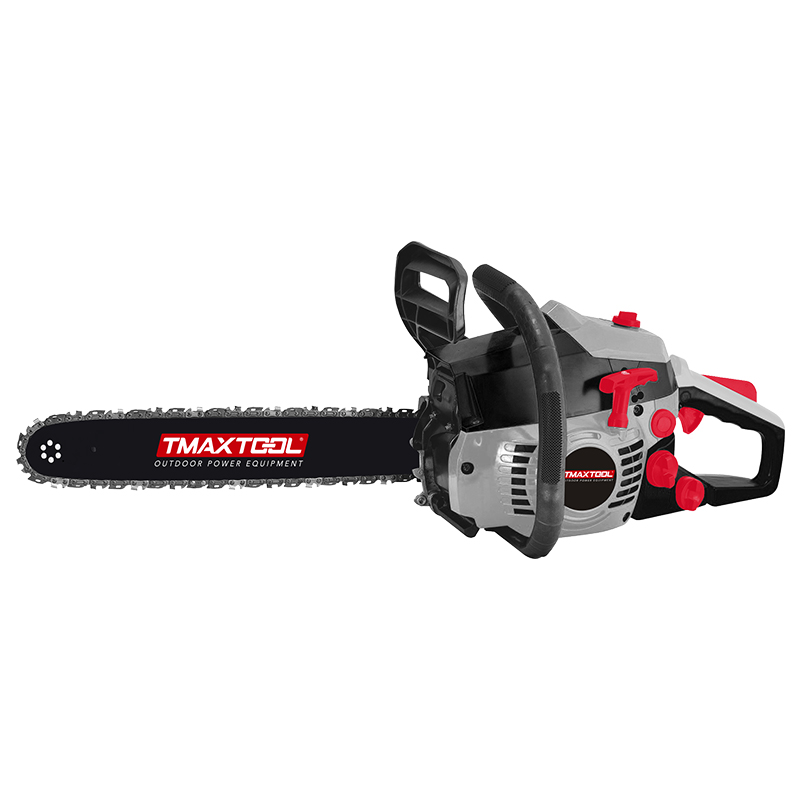 Chain Saw
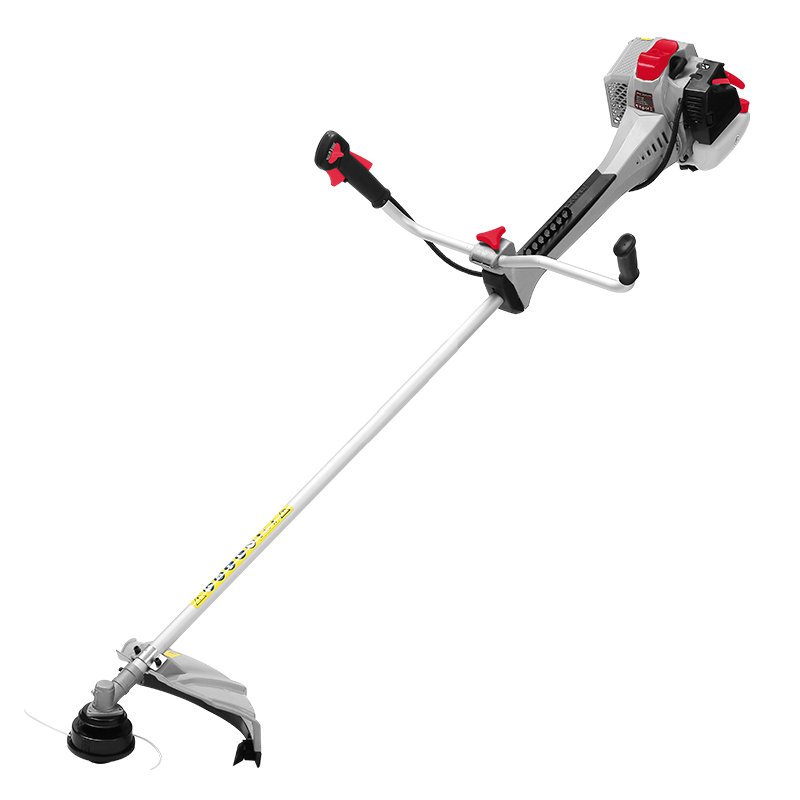 Brush Cutter
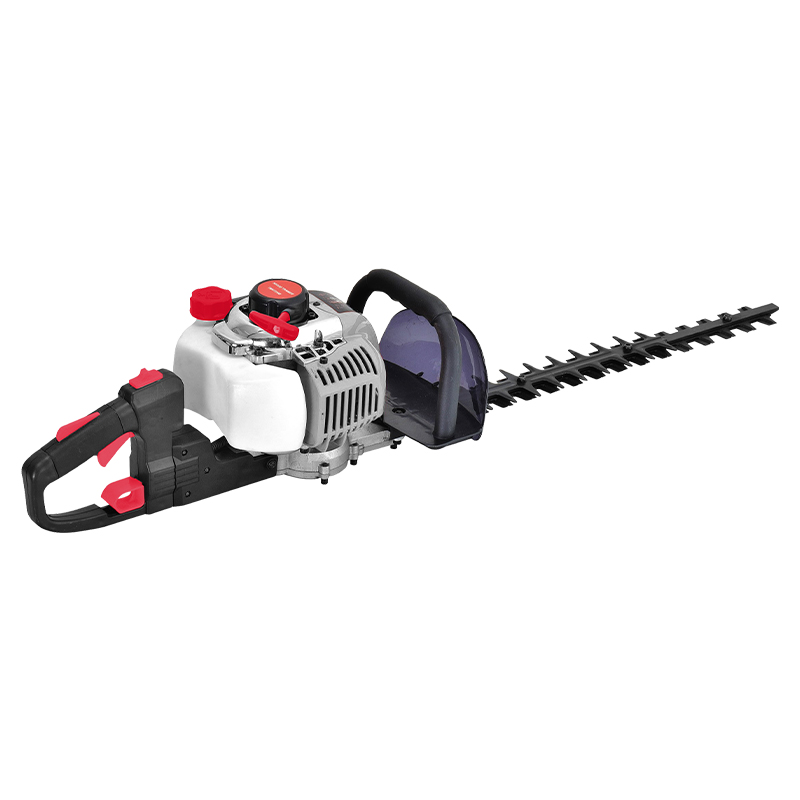 Hedge Trimmer
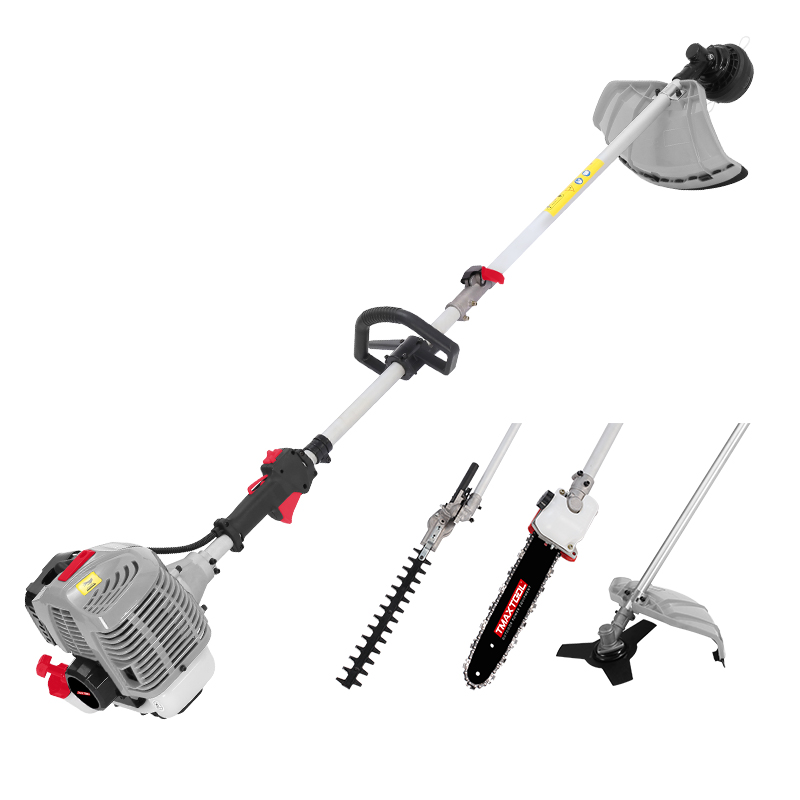 Multi Tool
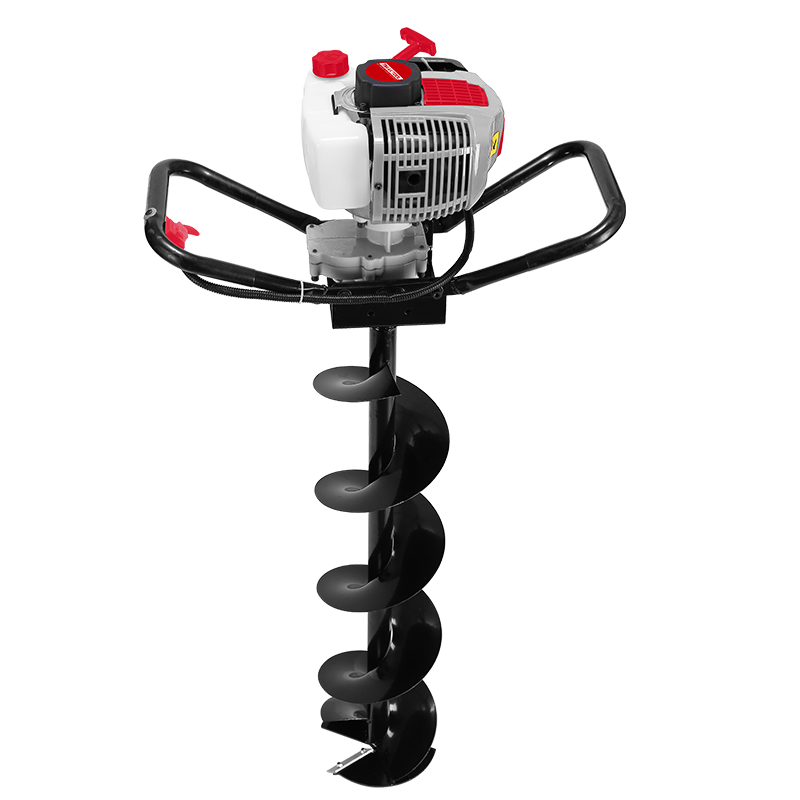 Earth Auger
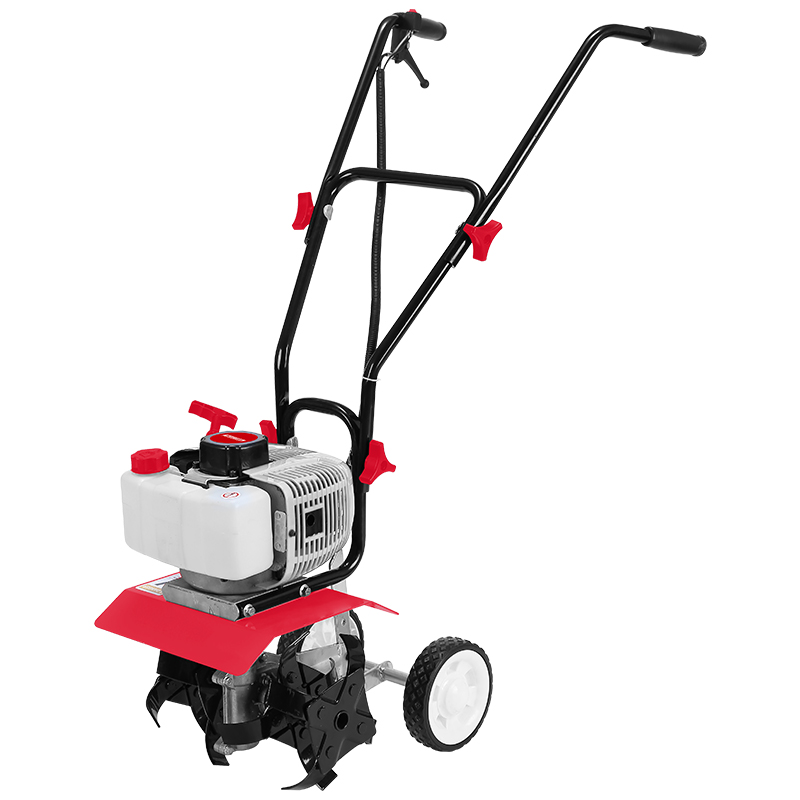 Tiller
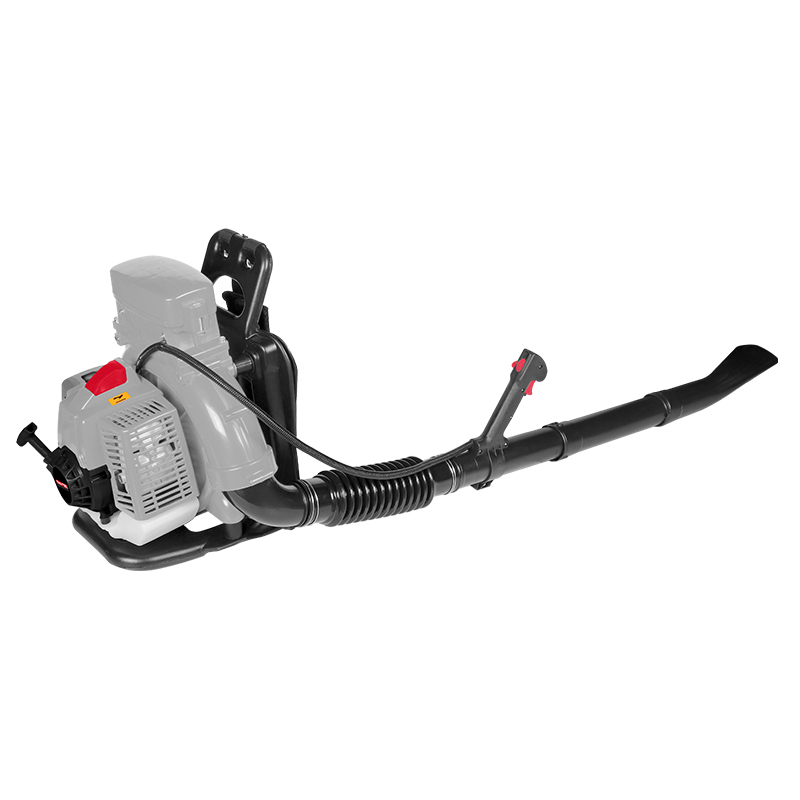 Blower
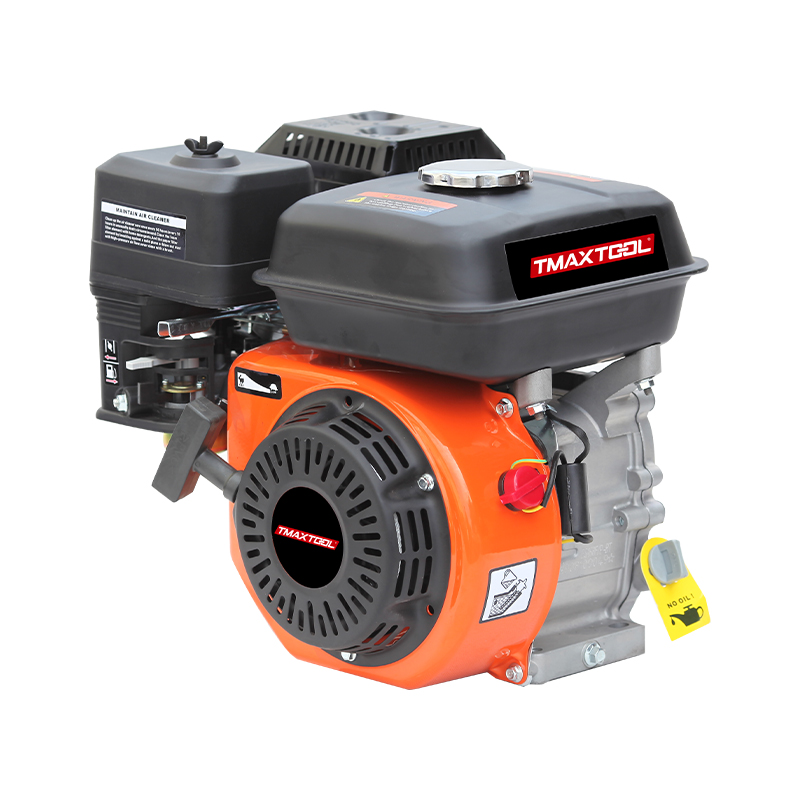 4 Stroke Gasoline Engine
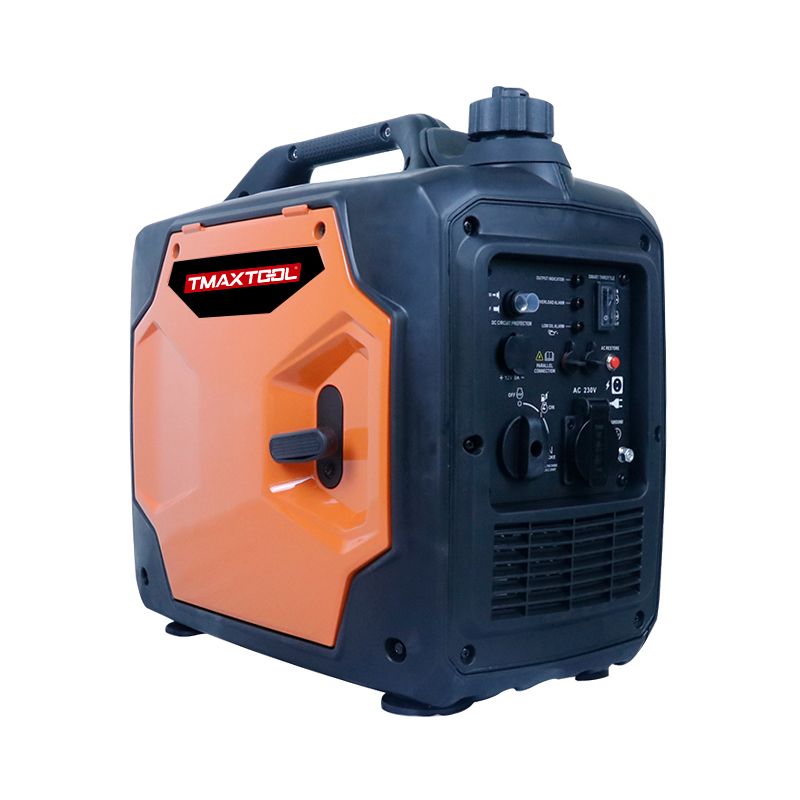 Generator
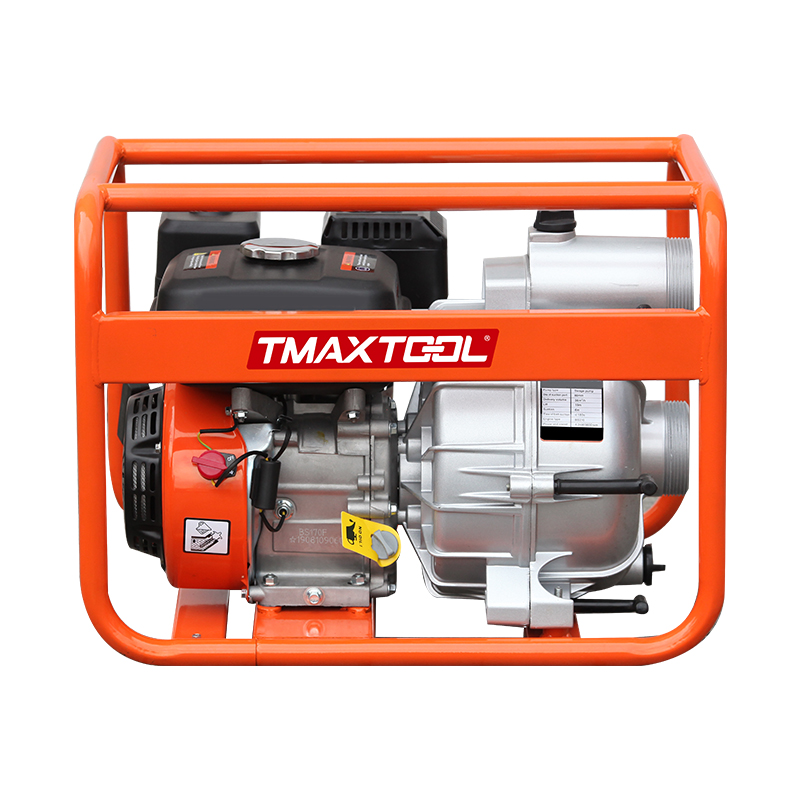 Water Pump
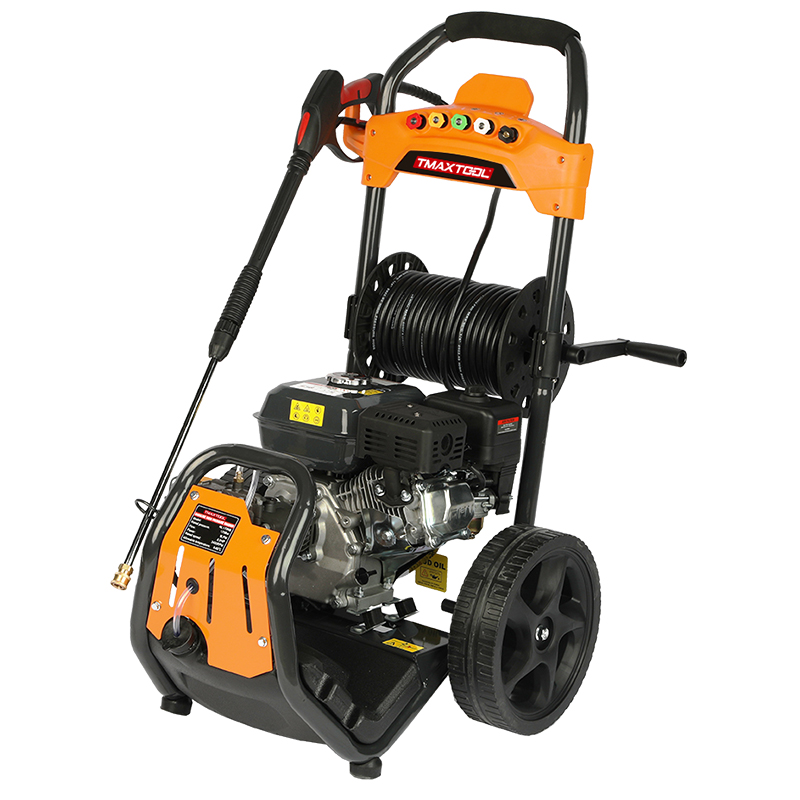 High Pressure Washer
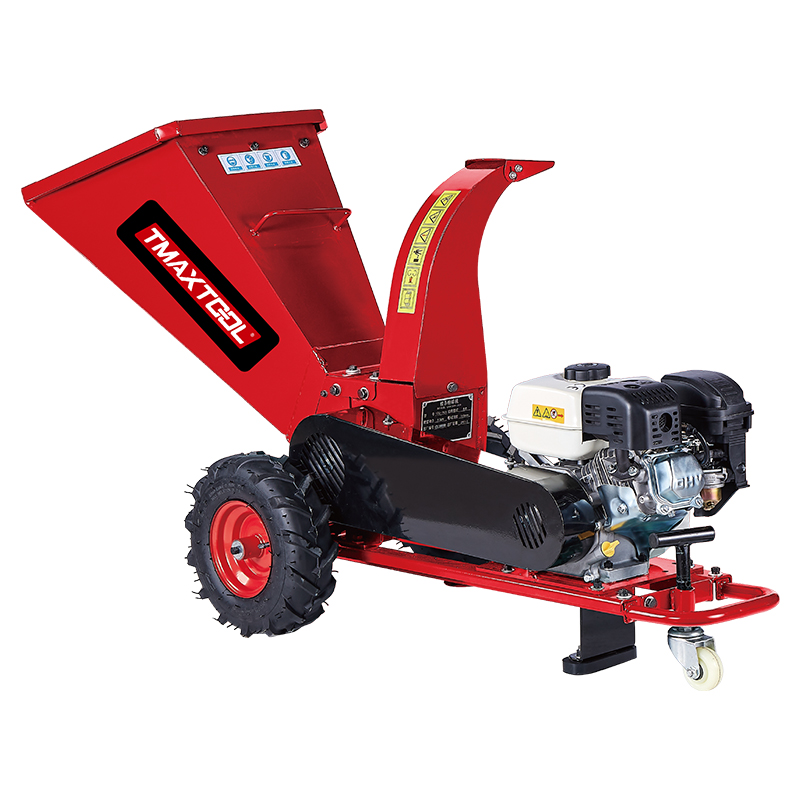 Wood Cutter
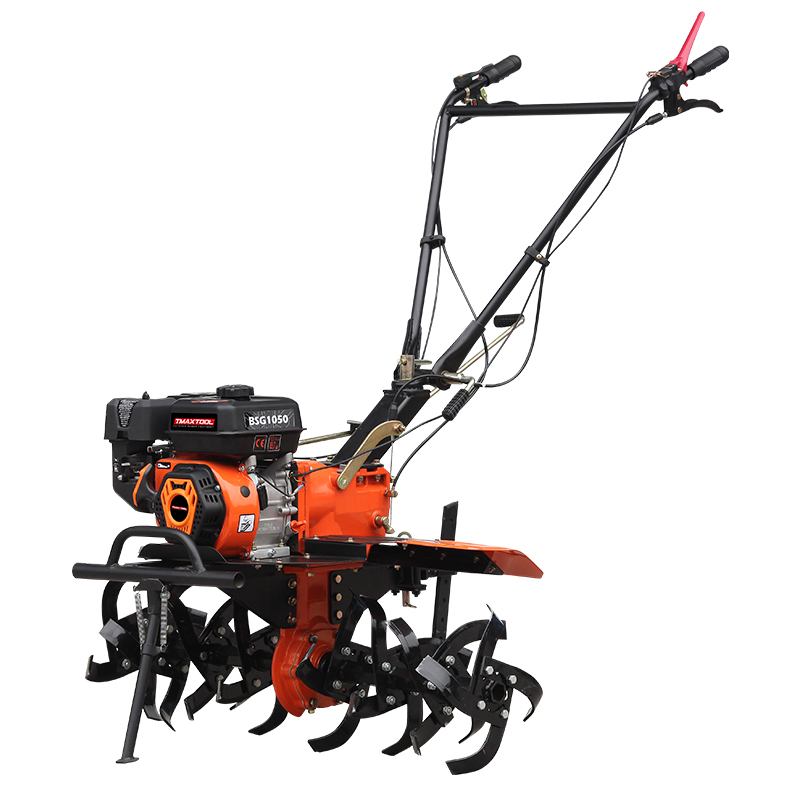 4 Stroke Tiller
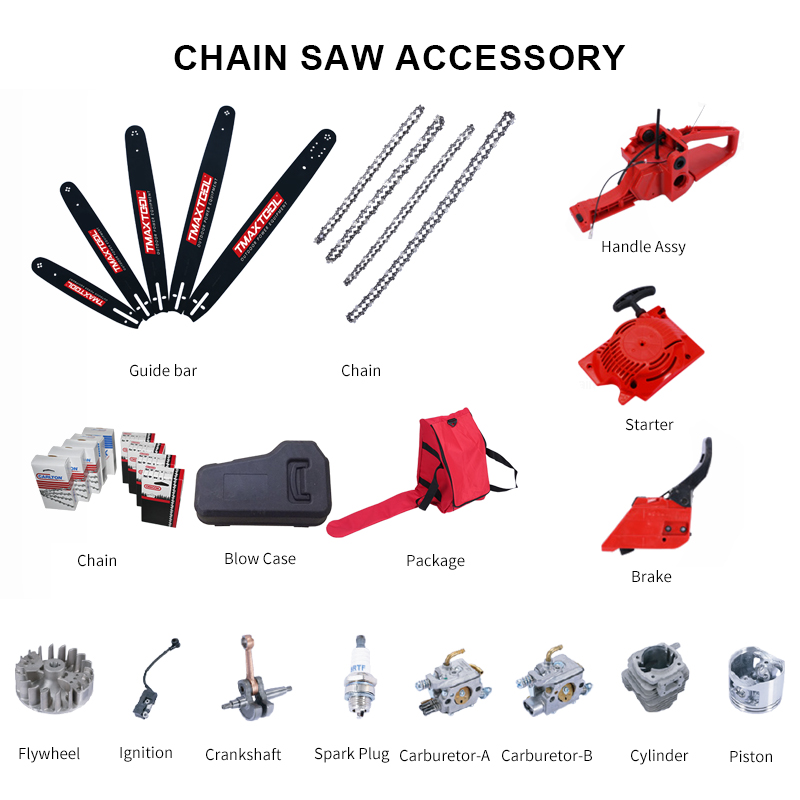 Chain Saw Accessory
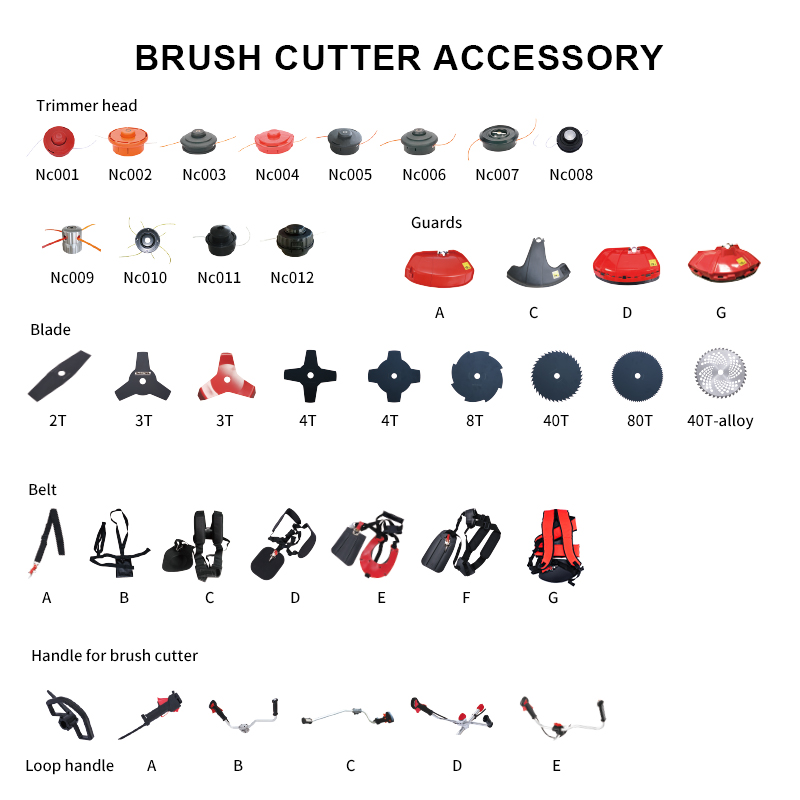 Brush Cutter Accessory
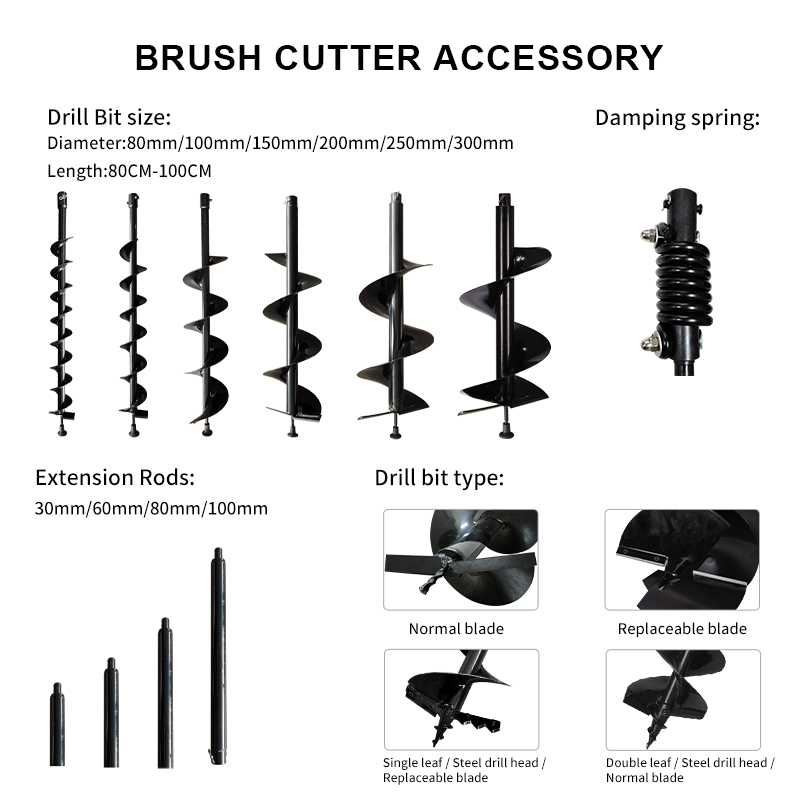 Earth Auger Accessory
 Protective Equipment Accessories
GARDEN TOOLS


42cc 52cc 62cc Multi Tool Brush Cutter 2 Stroke Grass Cutting Machine
product DETAILS


product description
Replacing the blades of the irrigation machine is a process that requires careful operation to ensure safety and correctness. The following are general steps, but please follow your specific model and user manual for operation:
1. Safety preparation:
Turn off and lock the power supply. If it is a fuel powered brush cutter, remove the spark plug lead.
Wear appropriate safety equipment, including gloves, safety glasses, and hearing protection equipment.
Place the irrigation machine on a stable and stable workbench, ensuring that it does not slide.
Dismantling old blades:
Use a suitable tool (such as a wrench, socket, or special tool) to rotate the nut or bolt that secures the blade counterclockwise.
On some models, it may be necessary to first insert the locking pin or safety pin into a specific position on the gear head in order to rotate or disassemble the grass head.
Gently tapping on the fixing nut or using penetrating oil can help loosen rusted components.
Carefully remove the old blade, paying attention to its weight and sharp edges.
• Inspection and cleaning:
Check for damage to the blade holder and drive disc, and clean any debris and grease around the blade holder.
Ensure that the new blade is suitable for your irrigation machine model and check for any defects in the new blade.
Install new blades:
According to the manufacturer's instructions, install the new blade correctly on the drive disc, ensuring that the balance mark (if any) of the blade is aligned with the mark on the machine.
Place any necessary support cups or flanges to ensure they are installed correctly.
Tighten the fixing nuts or bolts by hand. Use a wrench or socket wrench to fully tighten the nut or bolt according to the specified torque value. For certain designs, it may be necessary to use locking pins again to secure the gear head.
• Inspection and testing:
Manually rotate the blade to ensure no contact with any components and smooth and unobstructed rotation. Reconnect the spark plug leads, check that all components are correctly installed and tightened. Start the irrigation machine in a safe environment and let it run for a few minutes without load to check for any abnormal vibrations or sounds.
• Maintenance records:
Recording the date of blade replacement helps track maintenance cycles. Please remember that if you are not familiar with this process or encounter difficulties, the safest approach is to seek professional help. Safety always comes first.
1. Safety preparation:
Turn off and lock the power supply. If it is a fuel powered brush cutter, remove the spark plug lead.
Wear appropriate safety equipment, including gloves, safety glasses, and hearing protection equipment.
Place the irrigation machine on a stable and stable workbench, ensuring that it does not slide.
Dismantling old blades:
Use a suitable tool (such as a wrench, socket, or special tool) to rotate the nut or bolt that secures the blade counterclockwise.
On some models, it may be necessary to first insert the locking pin or safety pin into a specific position on the gear head in order to rotate or disassemble the grass head.
Gently tapping on the fixing nut or using penetrating oil can help loosen rusted components.
Carefully remove the old blade, paying attention to its weight and sharp edges.
• Inspection and cleaning:
Check for damage to the blade holder and drive disc, and clean any debris and grease around the blade holder.
Ensure that the new blade is suitable for your irrigation machine model and check for any defects in the new blade.
Install new blades:
According to the manufacturer's instructions, install the new blade correctly on the drive disc, ensuring that the balance mark (if any) of the blade is aligned with the mark on the machine.
Place any necessary support cups or flanges to ensure they are installed correctly.
Tighten the fixing nuts or bolts by hand. Use a wrench or socket wrench to fully tighten the nut or bolt according to the specified torque value. For certain designs, it may be necessary to use locking pins again to secure the gear head.
• Inspection and testing:
Manually rotate the blade to ensure no contact with any components and smooth and unobstructed rotation. Reconnect the spark plug leads, check that all components are correctly installed and tightened. Start the irrigation machine in a safe environment and let it run for a few minutes without load to check for any abnormal vibrations or sounds.
• Maintenance records:
Recording the date of blade replacement helps track maintenance cycles. Please remember that if you are not familiar with this process or encounter difficulties, the safest approach is to seek professional help. Safety always comes first.