
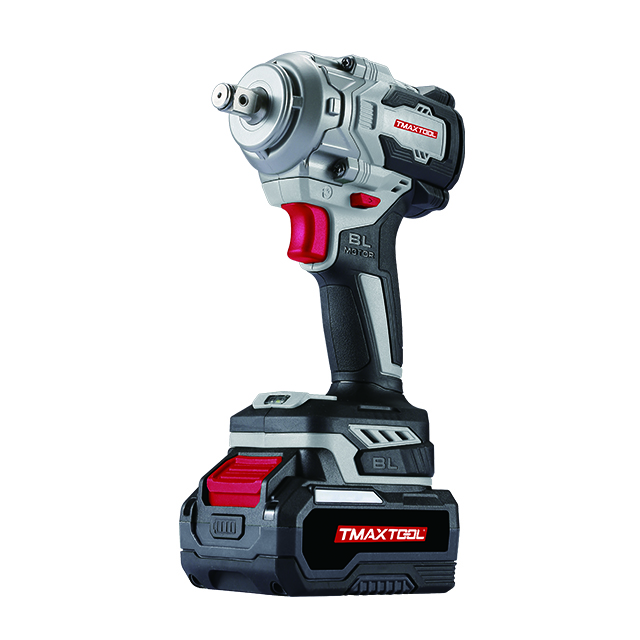
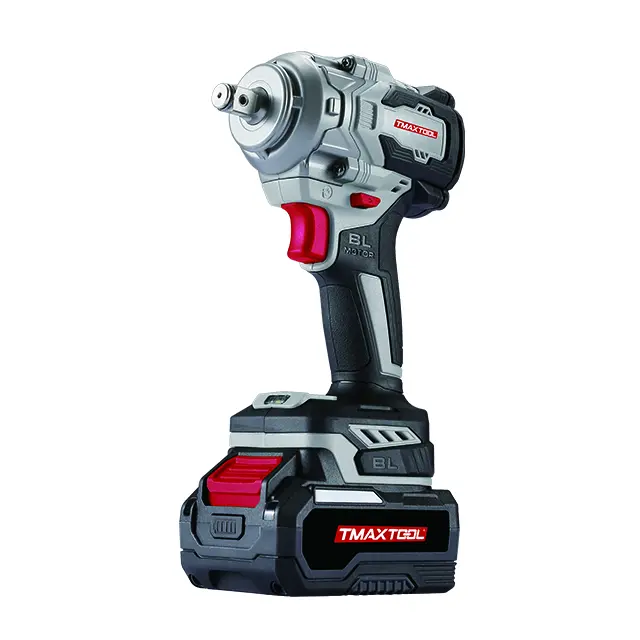
 Impact Wrench
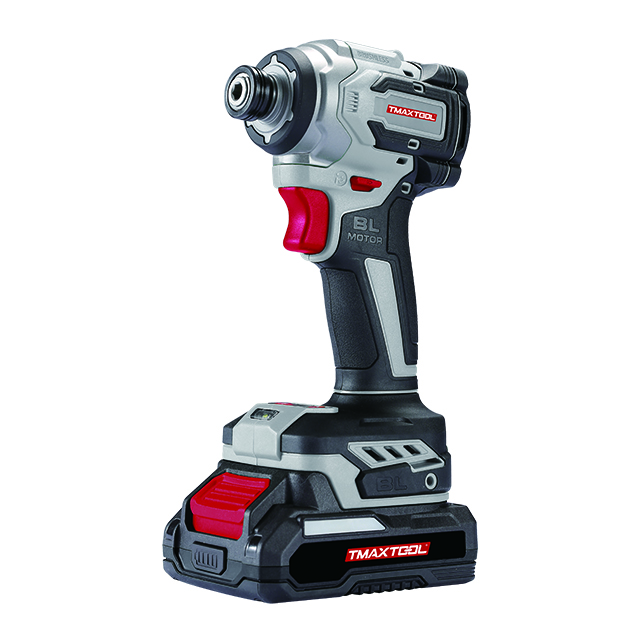 Screwdriver
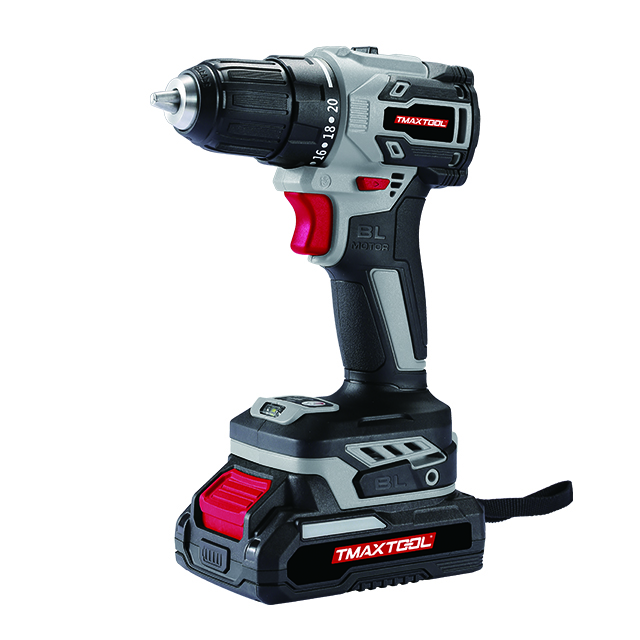 Cordless Drill
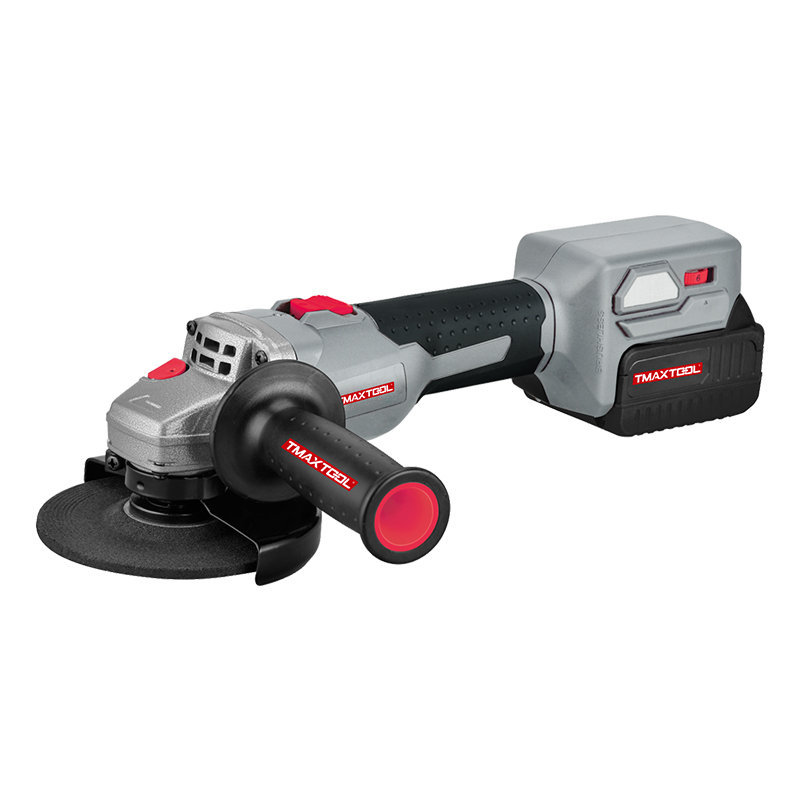 Angle Grinder
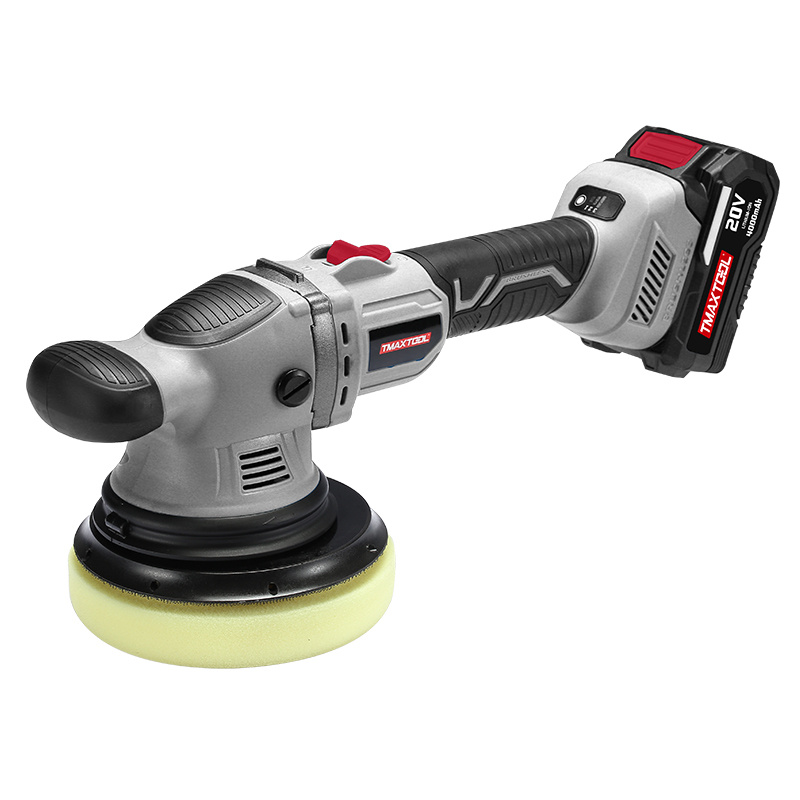 Polisher
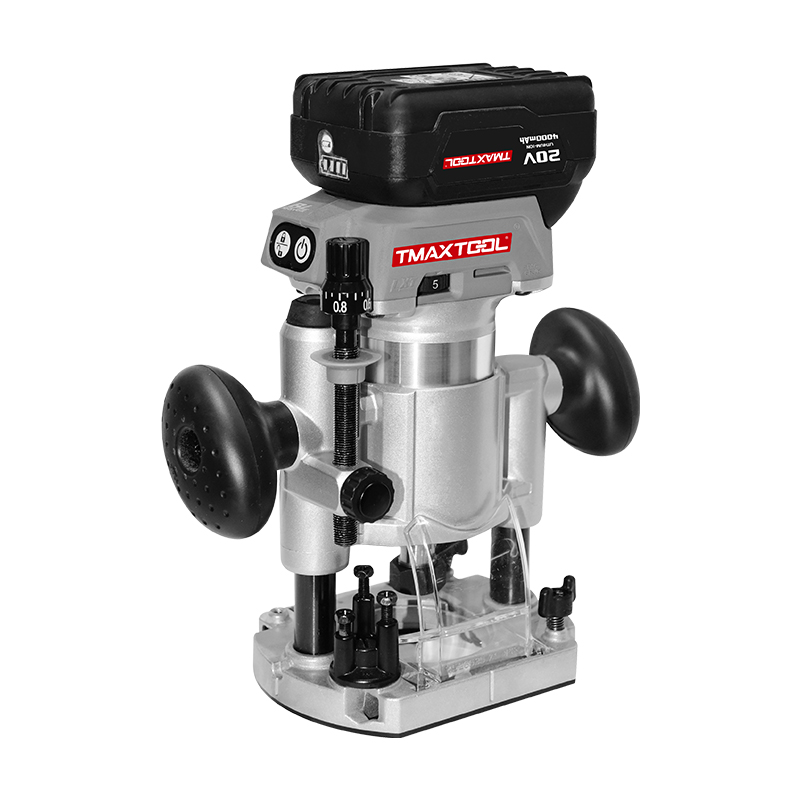 Wood Router
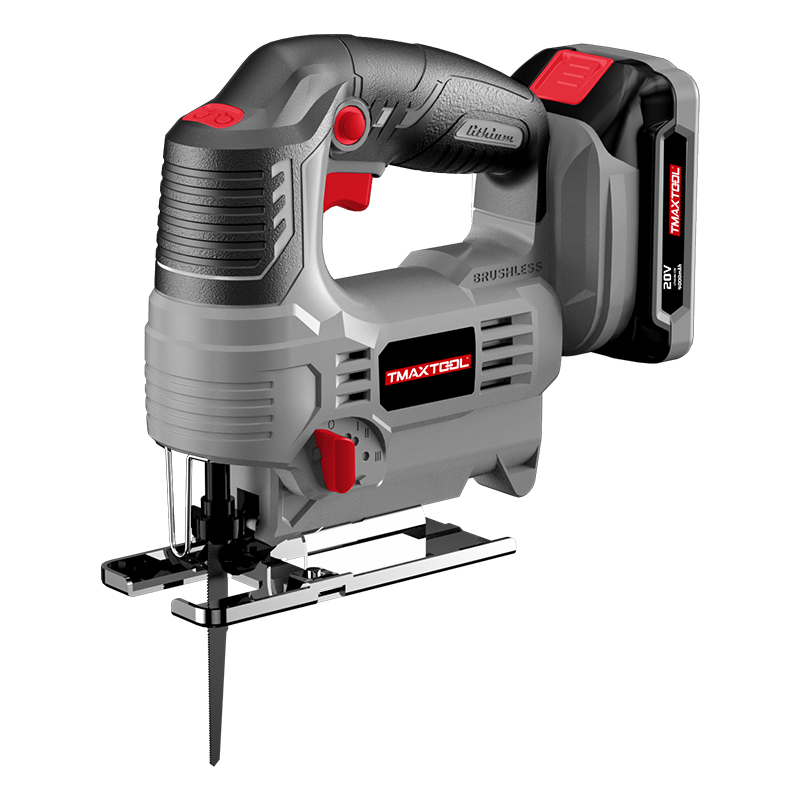 Jig Saw
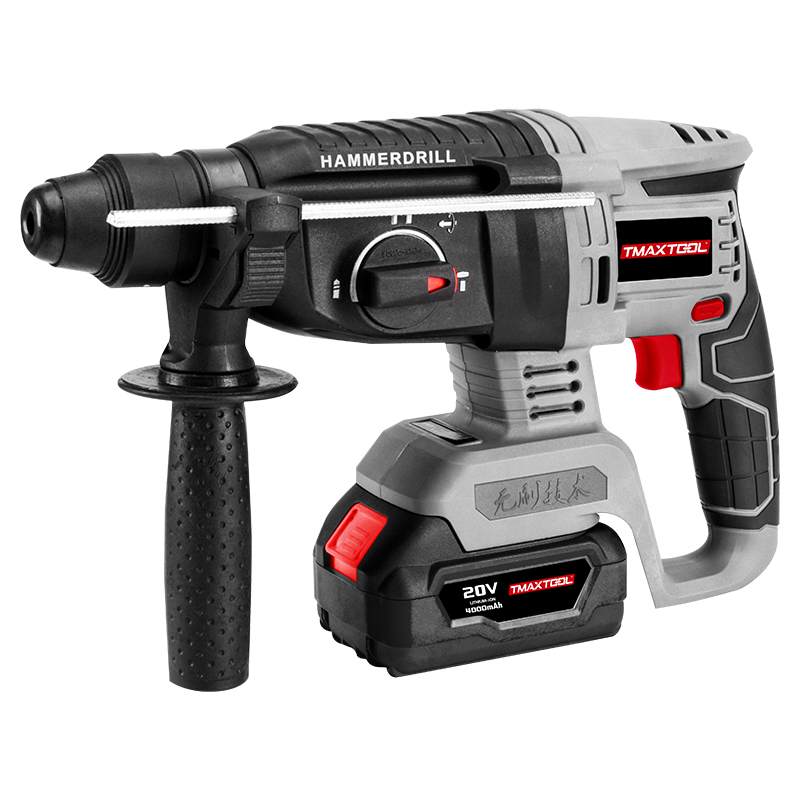 Hammer Drill
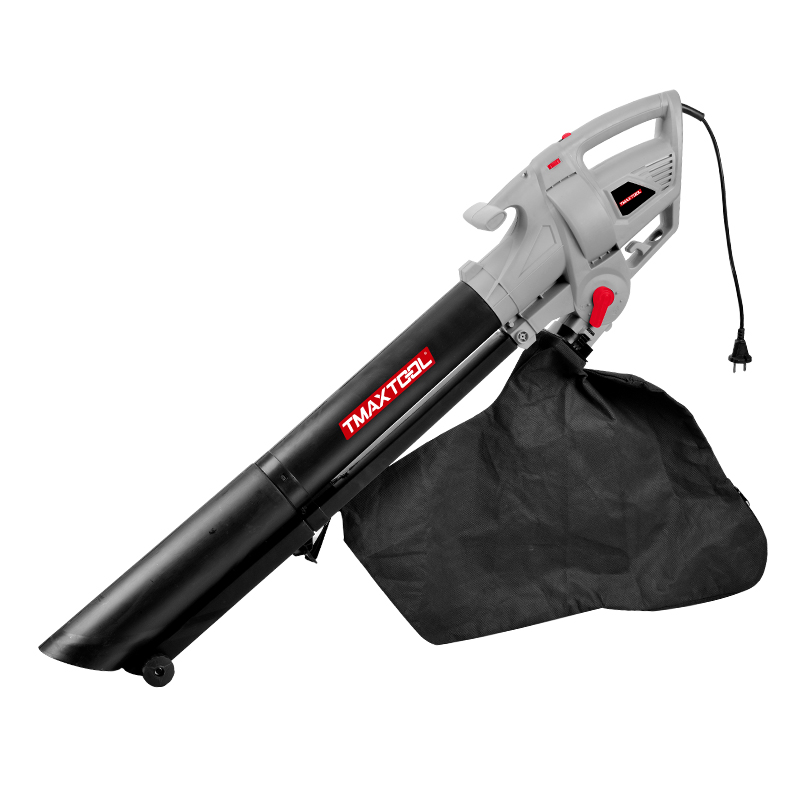 Portable Blower
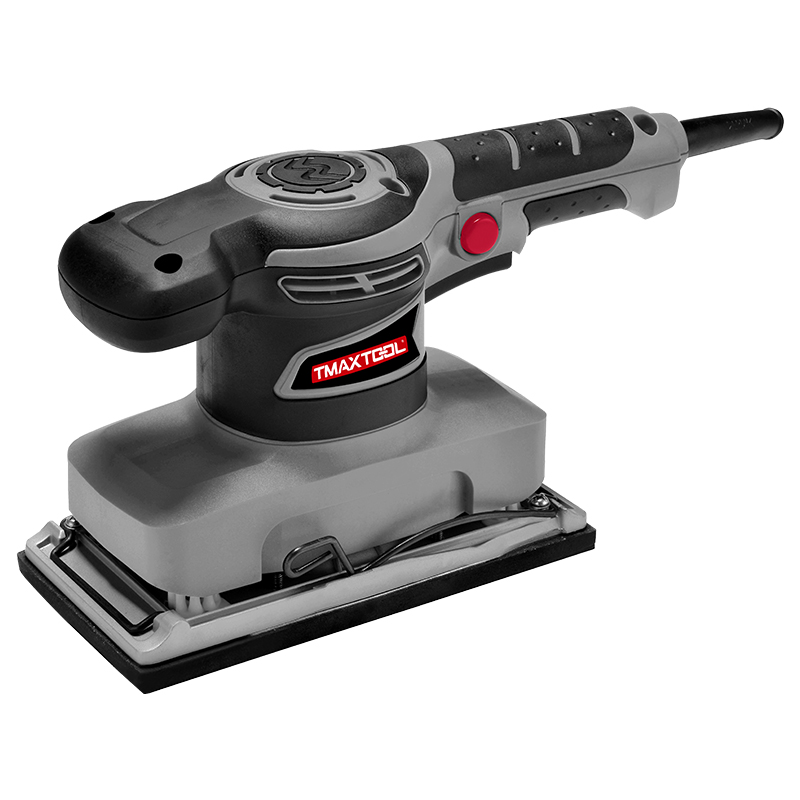 Orbital Sander
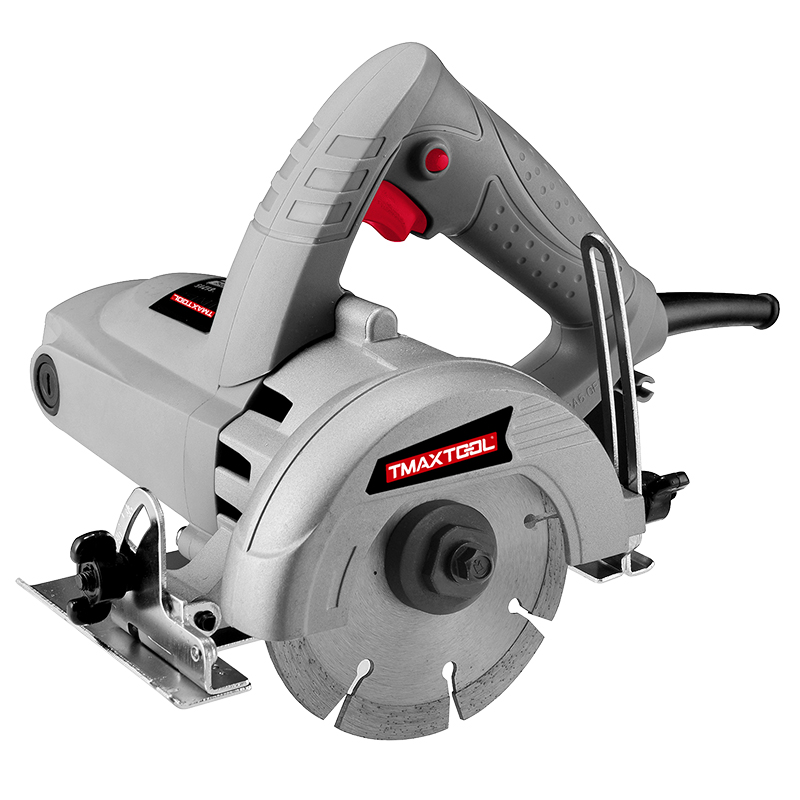 Marble Cutter
 GARDEN TOOLS
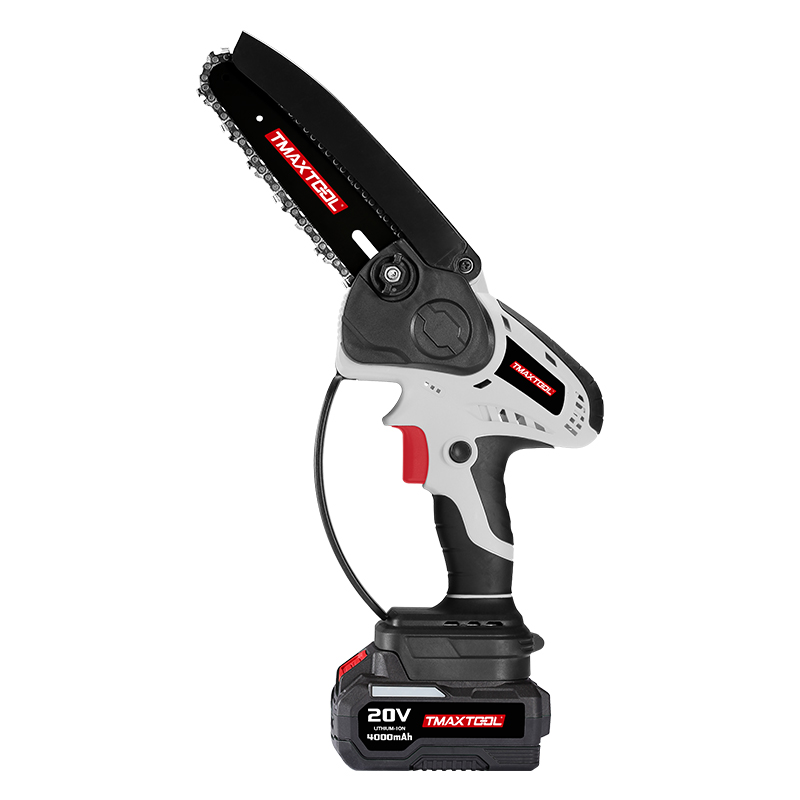 Battery Chain Saw
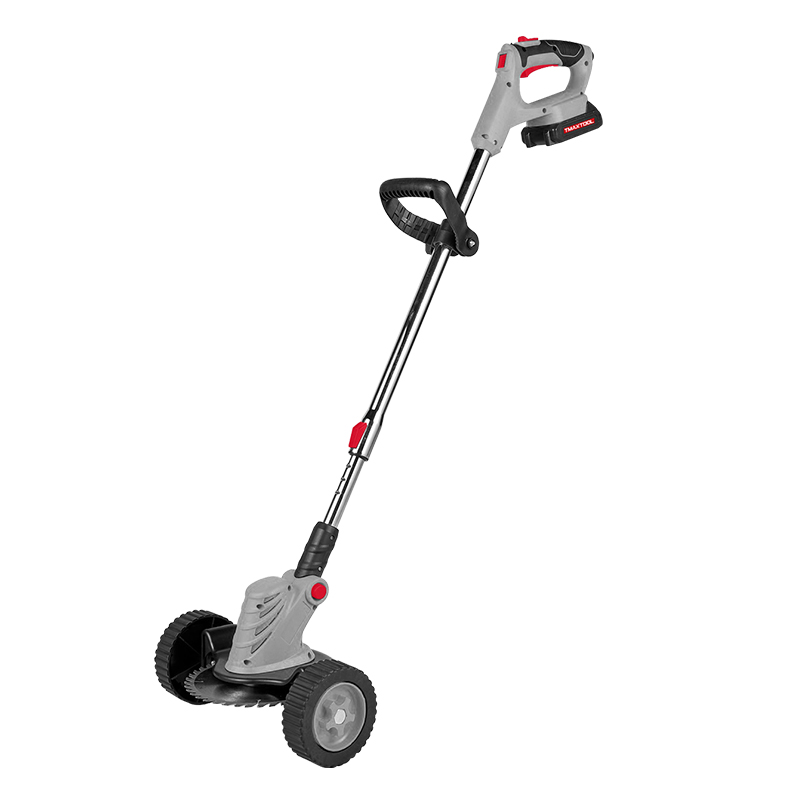 Battery Brush Cutter
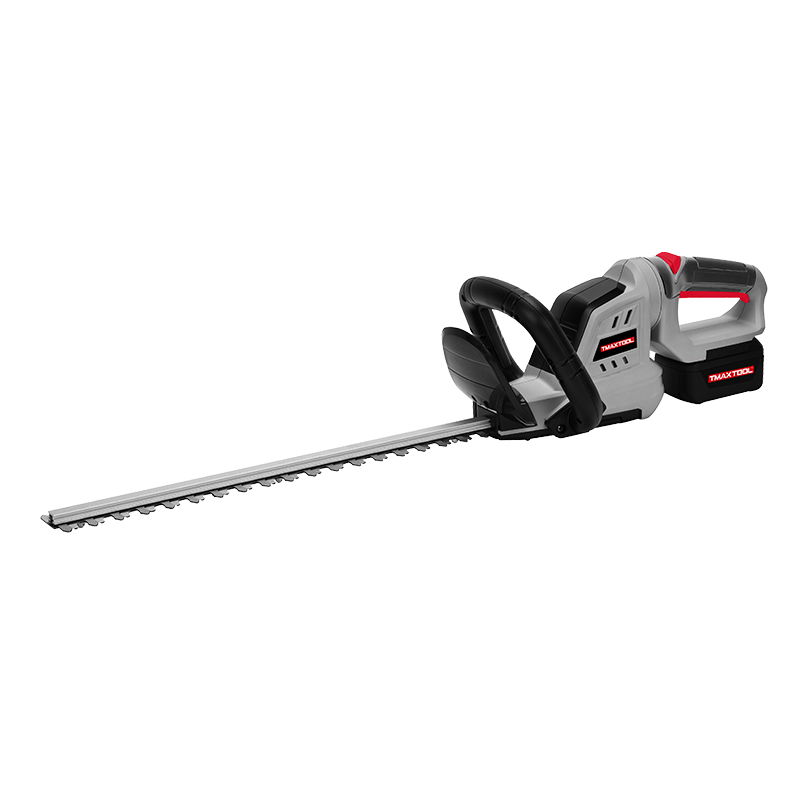 Battery Hedge Trimmer
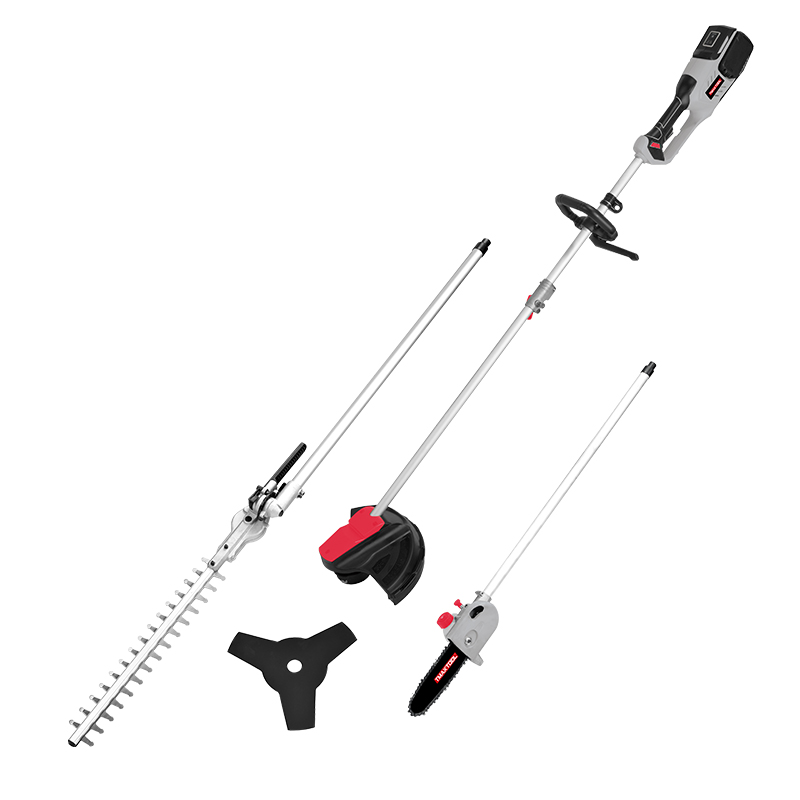 Battery Multi Tool
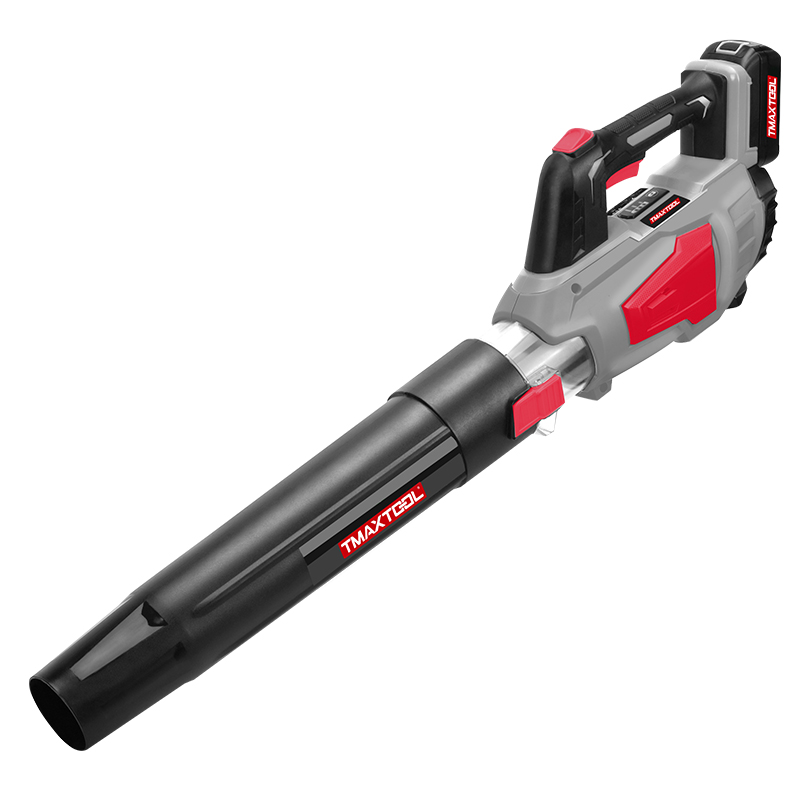 Battery Blower
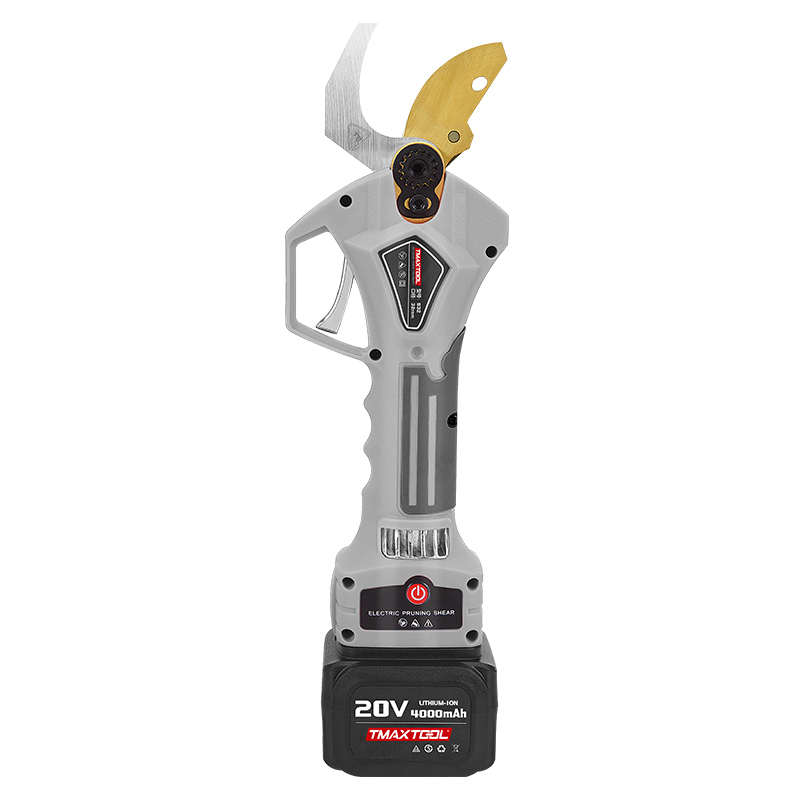 Batter Pruning Shears
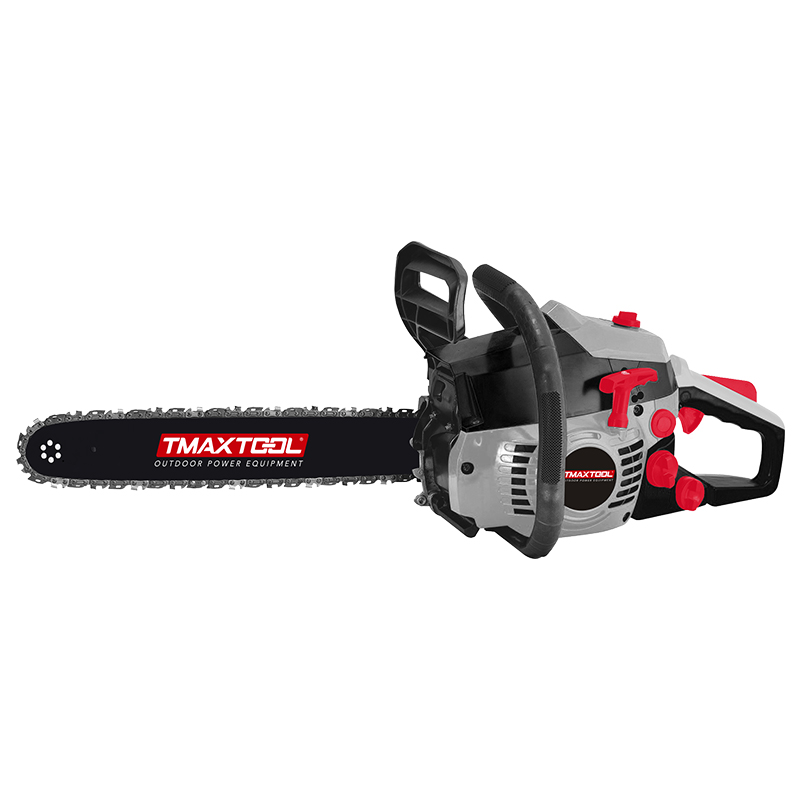 Chain Saw
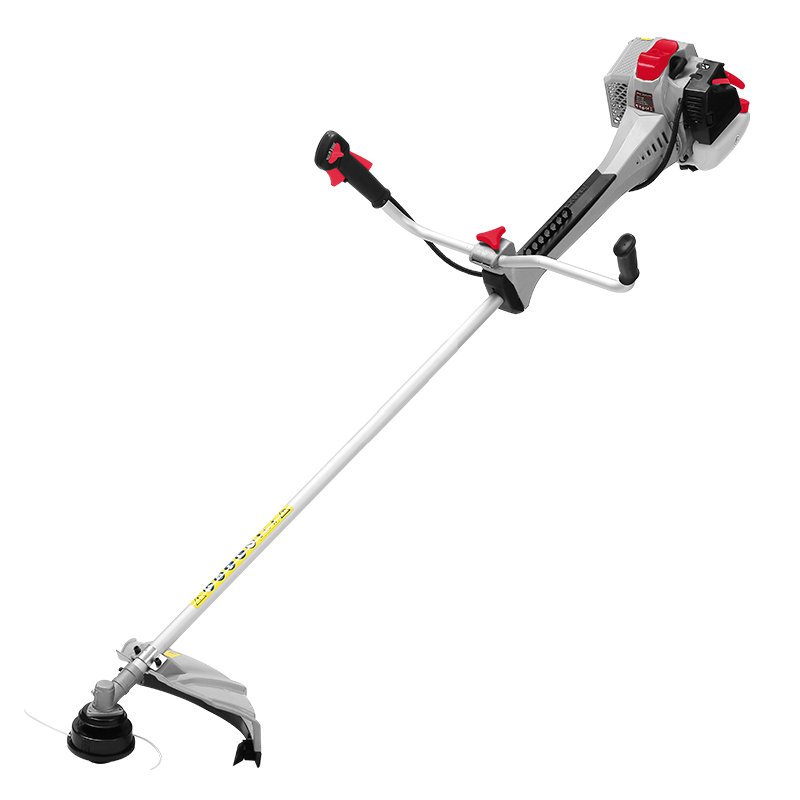 Brush Cutter
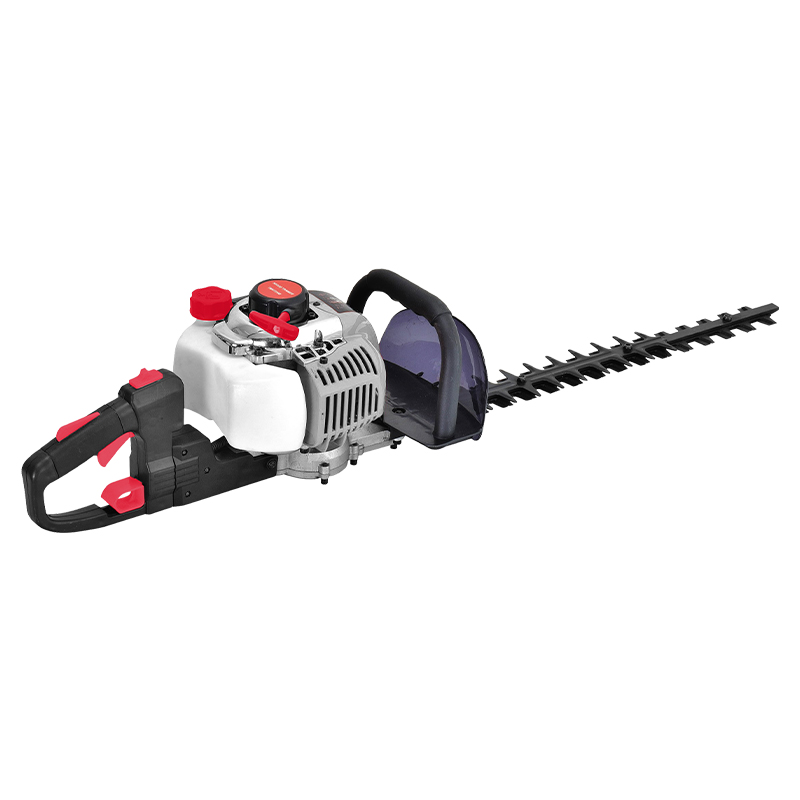 Hedge Trimmer
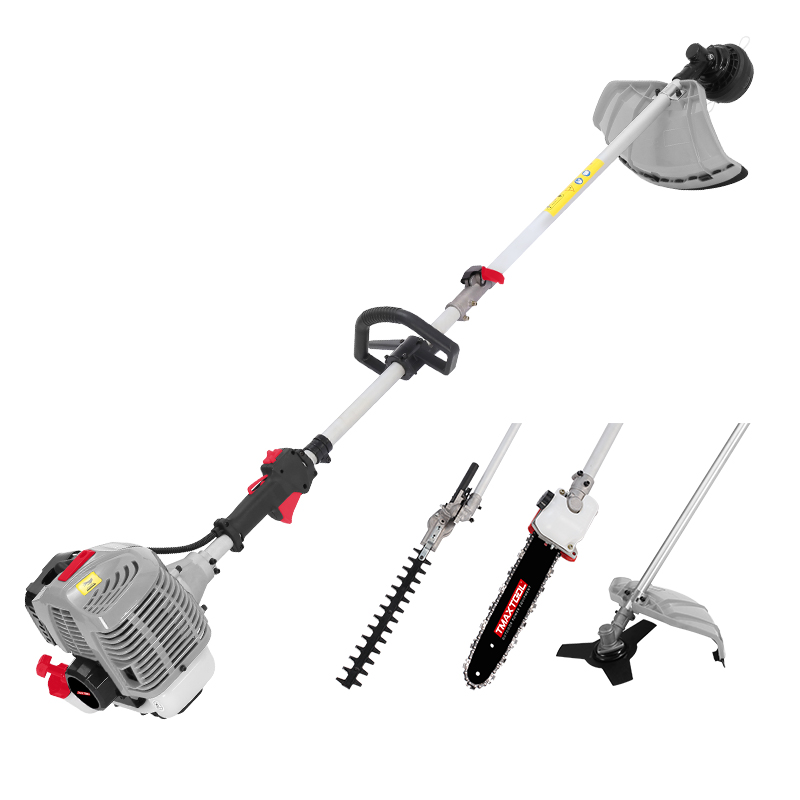 Multi Tool
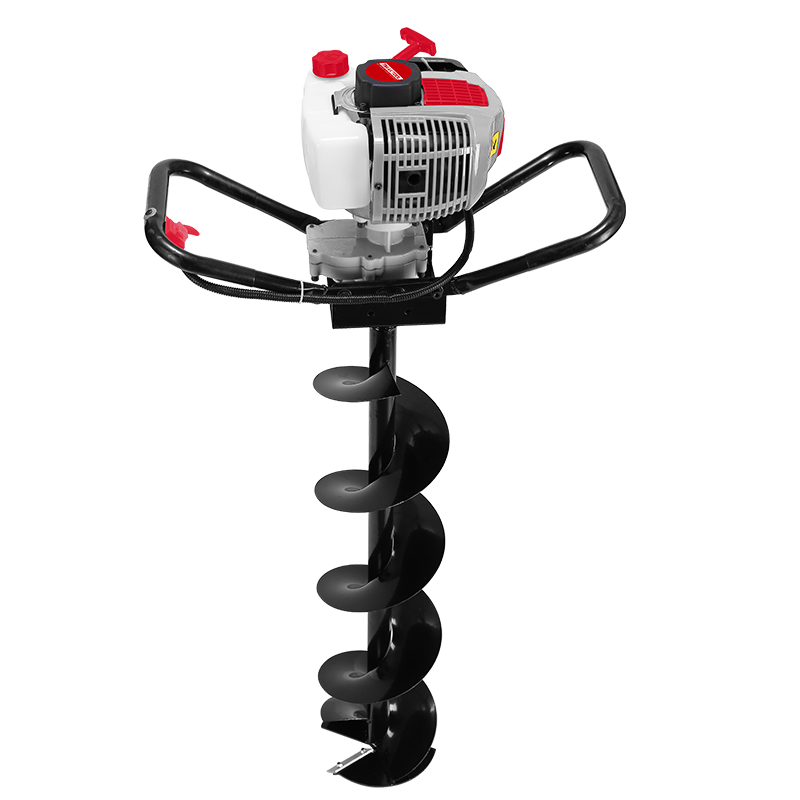 Earth Auger
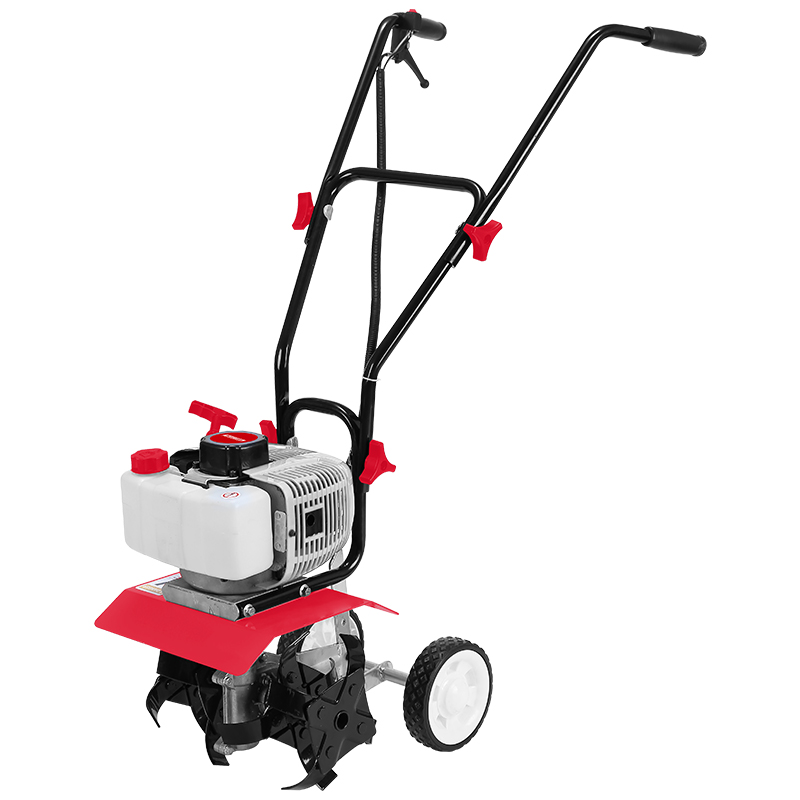 Tiller
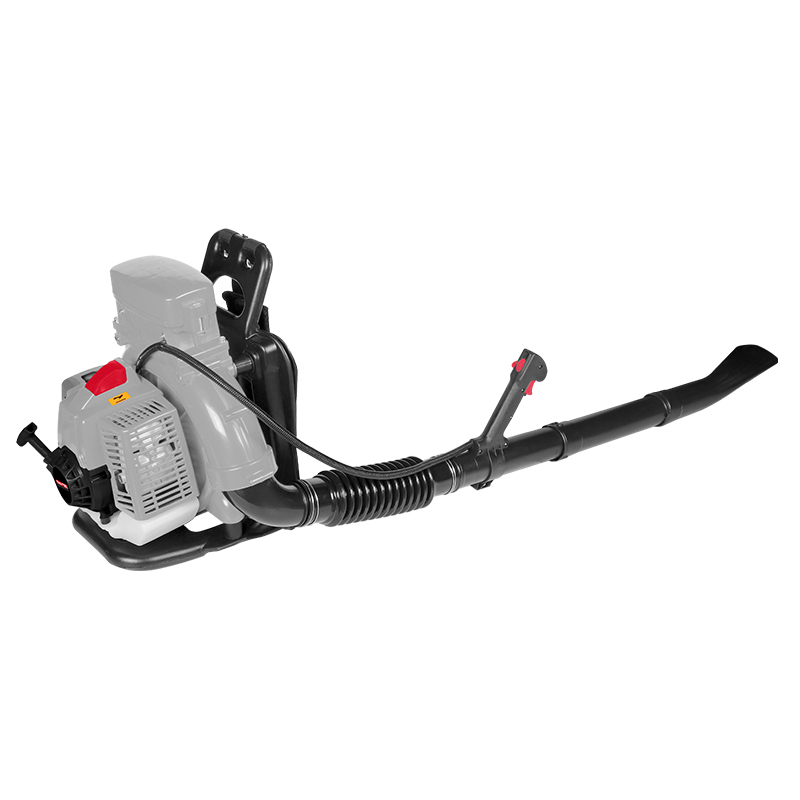 Blower
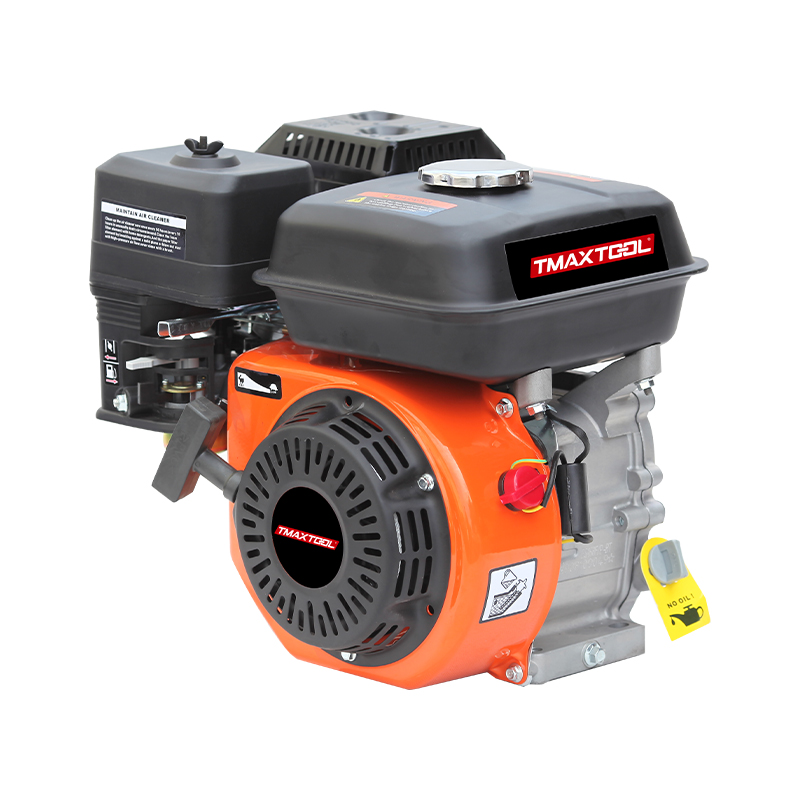 4 Stroke Gasoline Engine
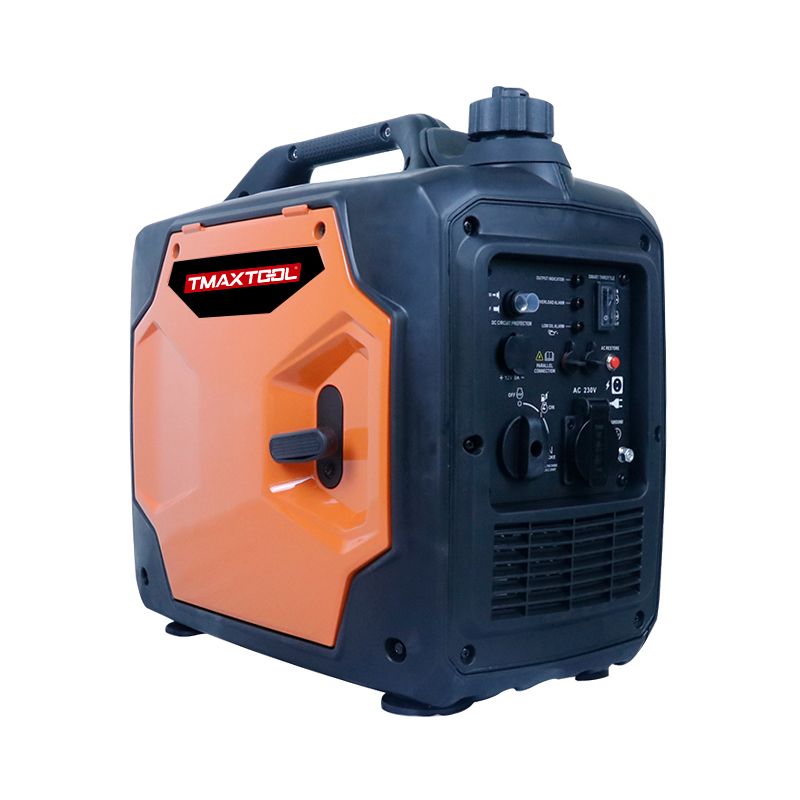 Generator
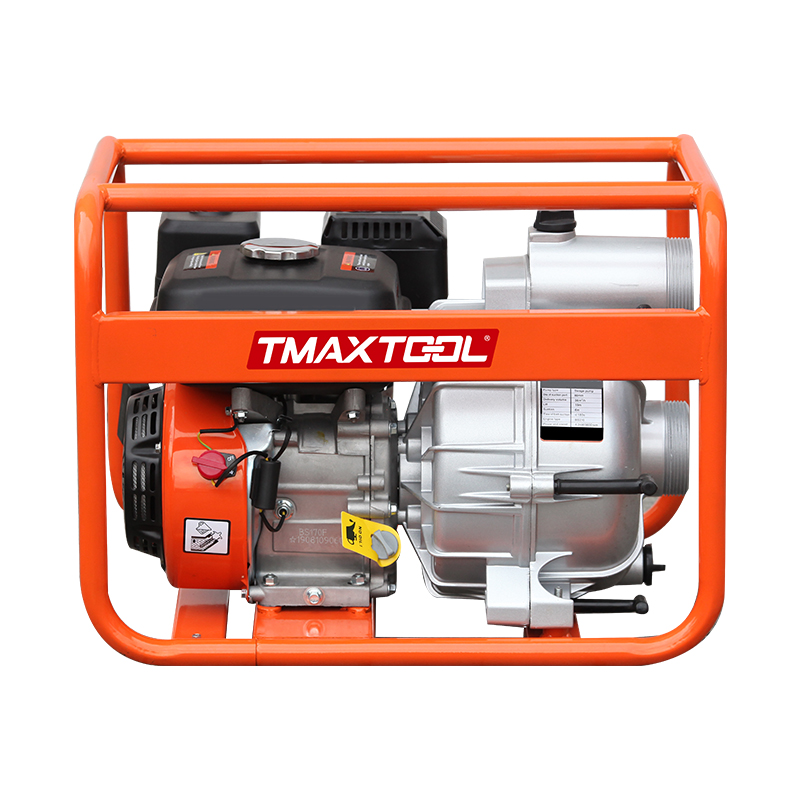 Water Pump
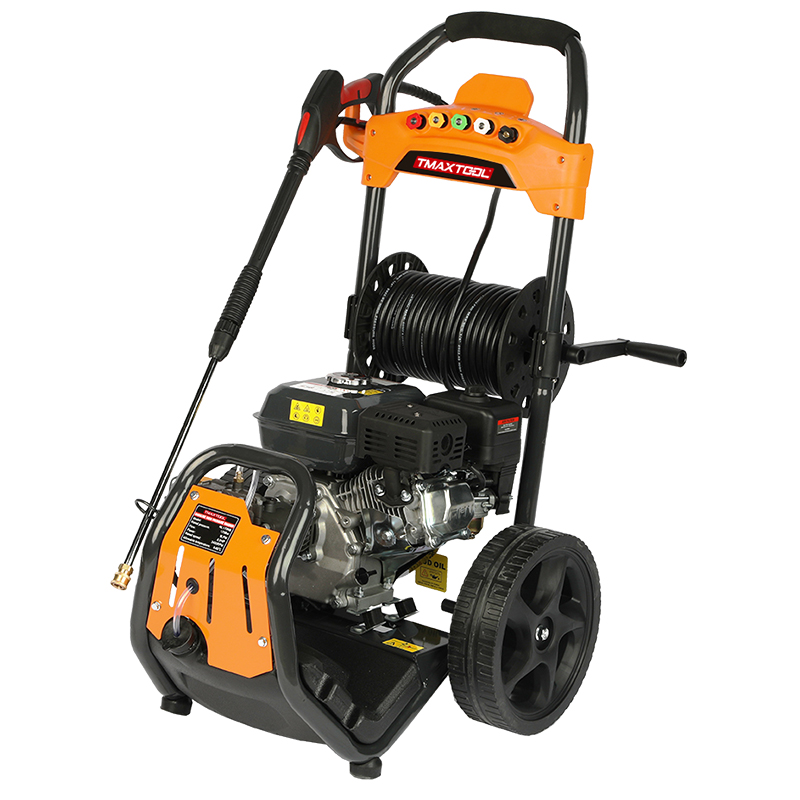 High Pressure Washer
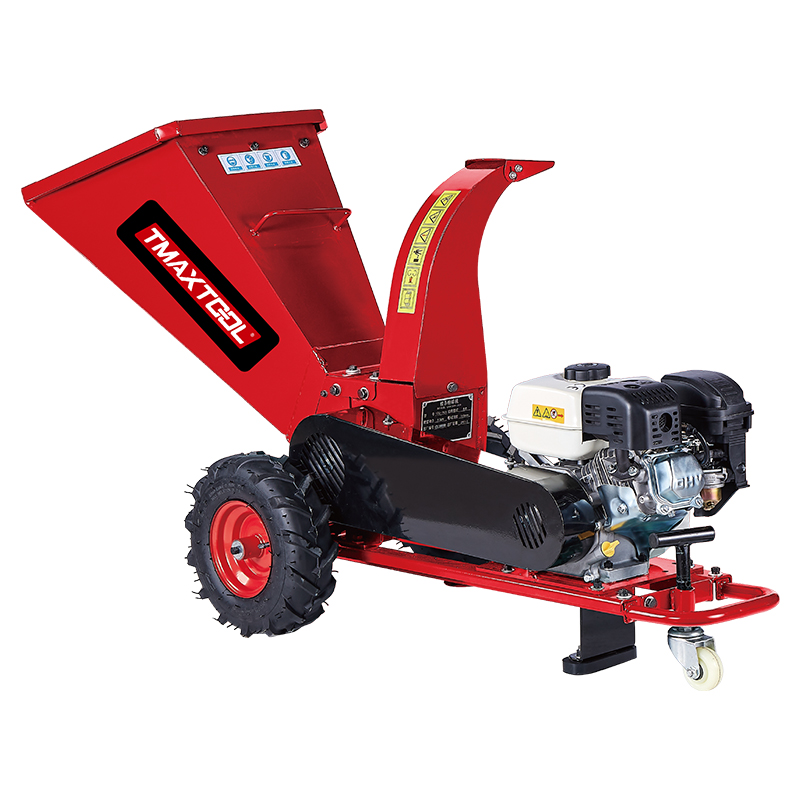 Wood Cutter
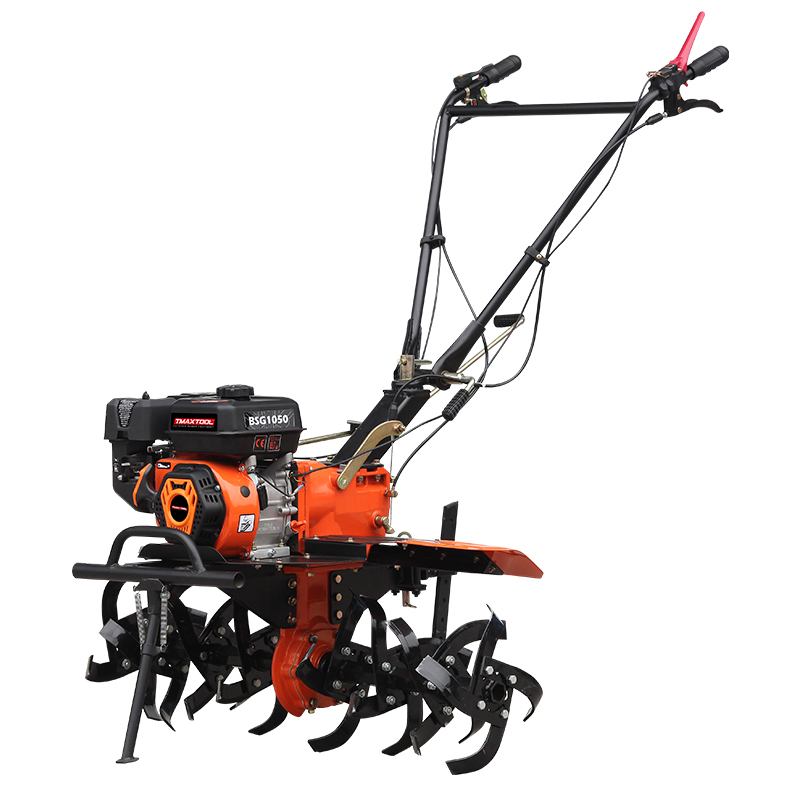 4 Stroke Tiller
 Chain Saw Accessory
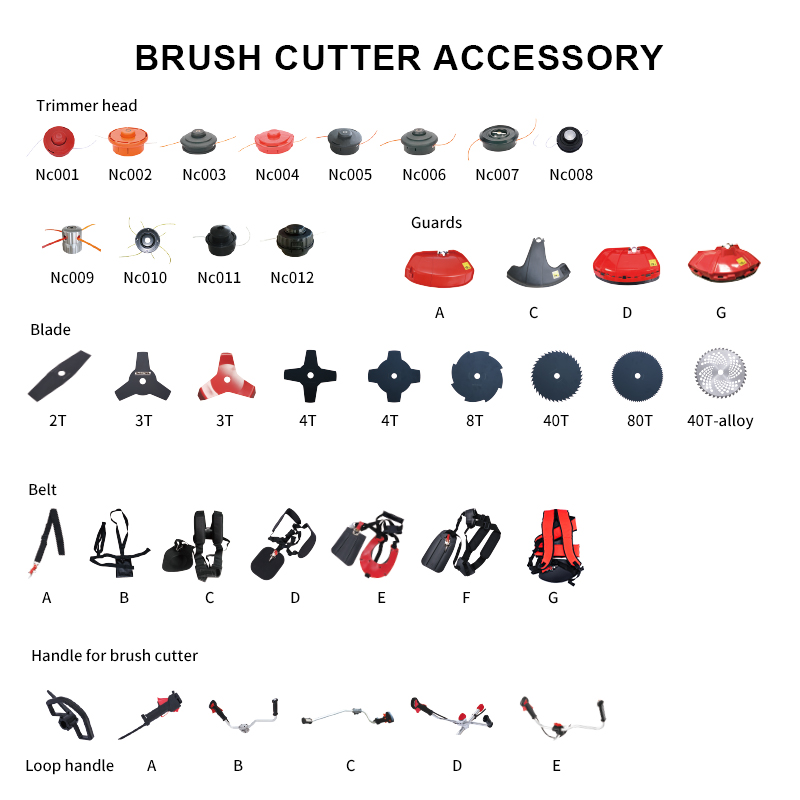 Brush Cutter Accessory
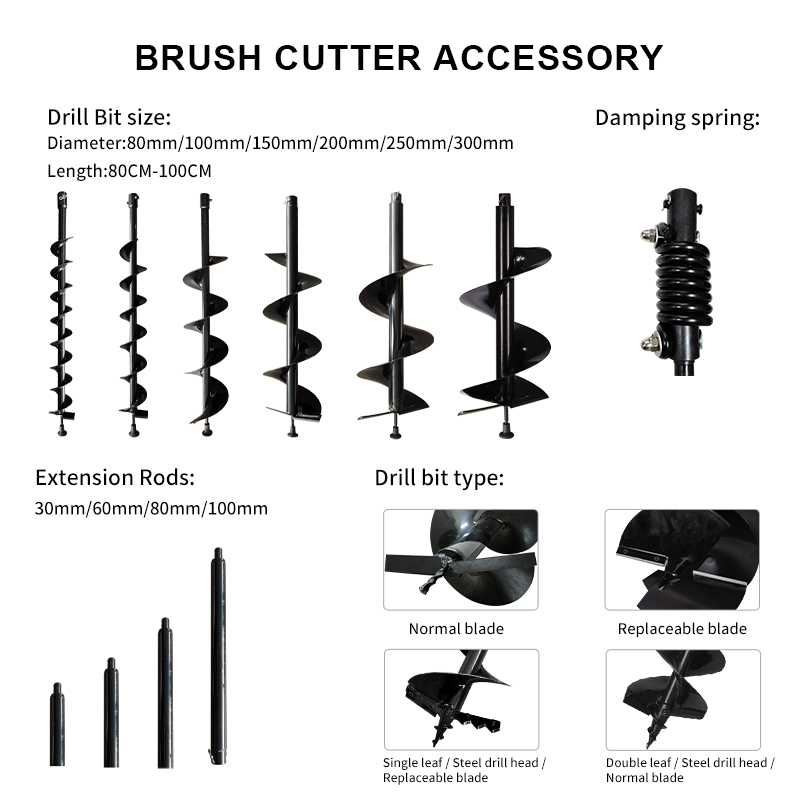 Earth Auger Accessory
 Protective Equipment Accessories
GARDEN TOOLS


42cc 52cc 62cc Multi Tool Brush Cutter 2 Stroke Grass Cutting Machine
product DETAILS


product description
Replacing the blades of the irrigation machine requires extra caution as improper operation may cause injury. The following are the steps to safely replace the blade of the irrigation machine:
1. Disconnect power: For electric irrigation machines, first unplug the plug from the power socket to ensure that it cannot be accidentally started. For fuel powered cutting machines, turn off the engine and remove the spark plug lead to prevent accidental starting.
• Empty fuel tank: If possible, it is best to empty the fuel tank or use a suction pipe to extract it to further reduce the risk. Especially when more complex repairs are required.
Wear protective equipment: Wear thick work gloves to protect your hands from cuts. Use goggles and masks to prevent metal debris from splashing and inhaling dust.
Fixed irrigator: Place the irrigation machine on a flat and stable ground, preferably secured with fixtures or wooden blocks to prevent slipping.
Dismantling old blades: Use a wrench or special tool to rotate the blade fixing nut (or screw) counterclockwise, being aware that the blade may be heavy or difficult to turn due to rust. If the blade gets stuck, gently tap the fixing nut to help loosen it, do not use excessive force.
• Inspection and cleaning: After removing the blade, check if there is any damage to the cutting disc and clean the debris around the blade holder.
Install new blades: Ensure that the new blade is correctly aligned with the installation position, and install according to the instructions in the manual. Usually, it is necessary to align the balance mark of the blade with the corresponding mark on the body. Tighten the nut by hand first, then use a wrench or special tool to fully tighten it, but avoid excessive tightening to avoid damaging the thread.
Check installation status: After installation, manually rotate the blade to confirm that it can rotate smoothly and without looseness.
• Reconnect power: After confirming that all operations are correct, reconnect the power supply or spark plug lead and prepare for a test run.
Trial operation and adjustment: Before using the new blade for the first time, test the machine at low speed for a few minutes to check for any abnormal vibrations or sounds, and ensure that everything is normal before normal use.
Always remember that if you are unsure about your operation or encounter difficulties, the safest approach is to contact a professional repair service for replacement. Safety always comes first.
1. Disconnect power: For electric irrigation machines, first unplug the plug from the power socket to ensure that it cannot be accidentally started. For fuel powered cutting machines, turn off the engine and remove the spark plug lead to prevent accidental starting.
• Empty fuel tank: If possible, it is best to empty the fuel tank or use a suction pipe to extract it to further reduce the risk. Especially when more complex repairs are required.
Wear protective equipment: Wear thick work gloves to protect your hands from cuts. Use goggles and masks to prevent metal debris from splashing and inhaling dust.
Fixed irrigator: Place the irrigation machine on a flat and stable ground, preferably secured with fixtures or wooden blocks to prevent slipping.
Dismantling old blades: Use a wrench or special tool to rotate the blade fixing nut (or screw) counterclockwise, being aware that the blade may be heavy or difficult to turn due to rust. If the blade gets stuck, gently tap the fixing nut to help loosen it, do not use excessive force.
• Inspection and cleaning: After removing the blade, check if there is any damage to the cutting disc and clean the debris around the blade holder.
Install new blades: Ensure that the new blade is correctly aligned with the installation position, and install according to the instructions in the manual. Usually, it is necessary to align the balance mark of the blade with the corresponding mark on the body. Tighten the nut by hand first, then use a wrench or special tool to fully tighten it, but avoid excessive tightening to avoid damaging the thread.
Check installation status: After installation, manually rotate the blade to confirm that it can rotate smoothly and without looseness.
• Reconnect power: After confirming that all operations are correct, reconnect the power supply or spark plug lead and prepare for a test run.
Trial operation and adjustment: Before using the new blade for the first time, test the machine at low speed for a few minutes to check for any abnormal vibrations or sounds, and ensure that everything is normal before normal use.
Always remember that if you are unsure about your operation or encounter difficulties, the safest approach is to contact a professional repair service for replacement. Safety always comes first.